I have been crafting with paper since childhood when my grandmother taught me to make traditional Scandinavian heart baskets by cutting and weaving paper. She also taught me to fold paper boxes to use for gift giving, and later I introduced her to the art of Origami.
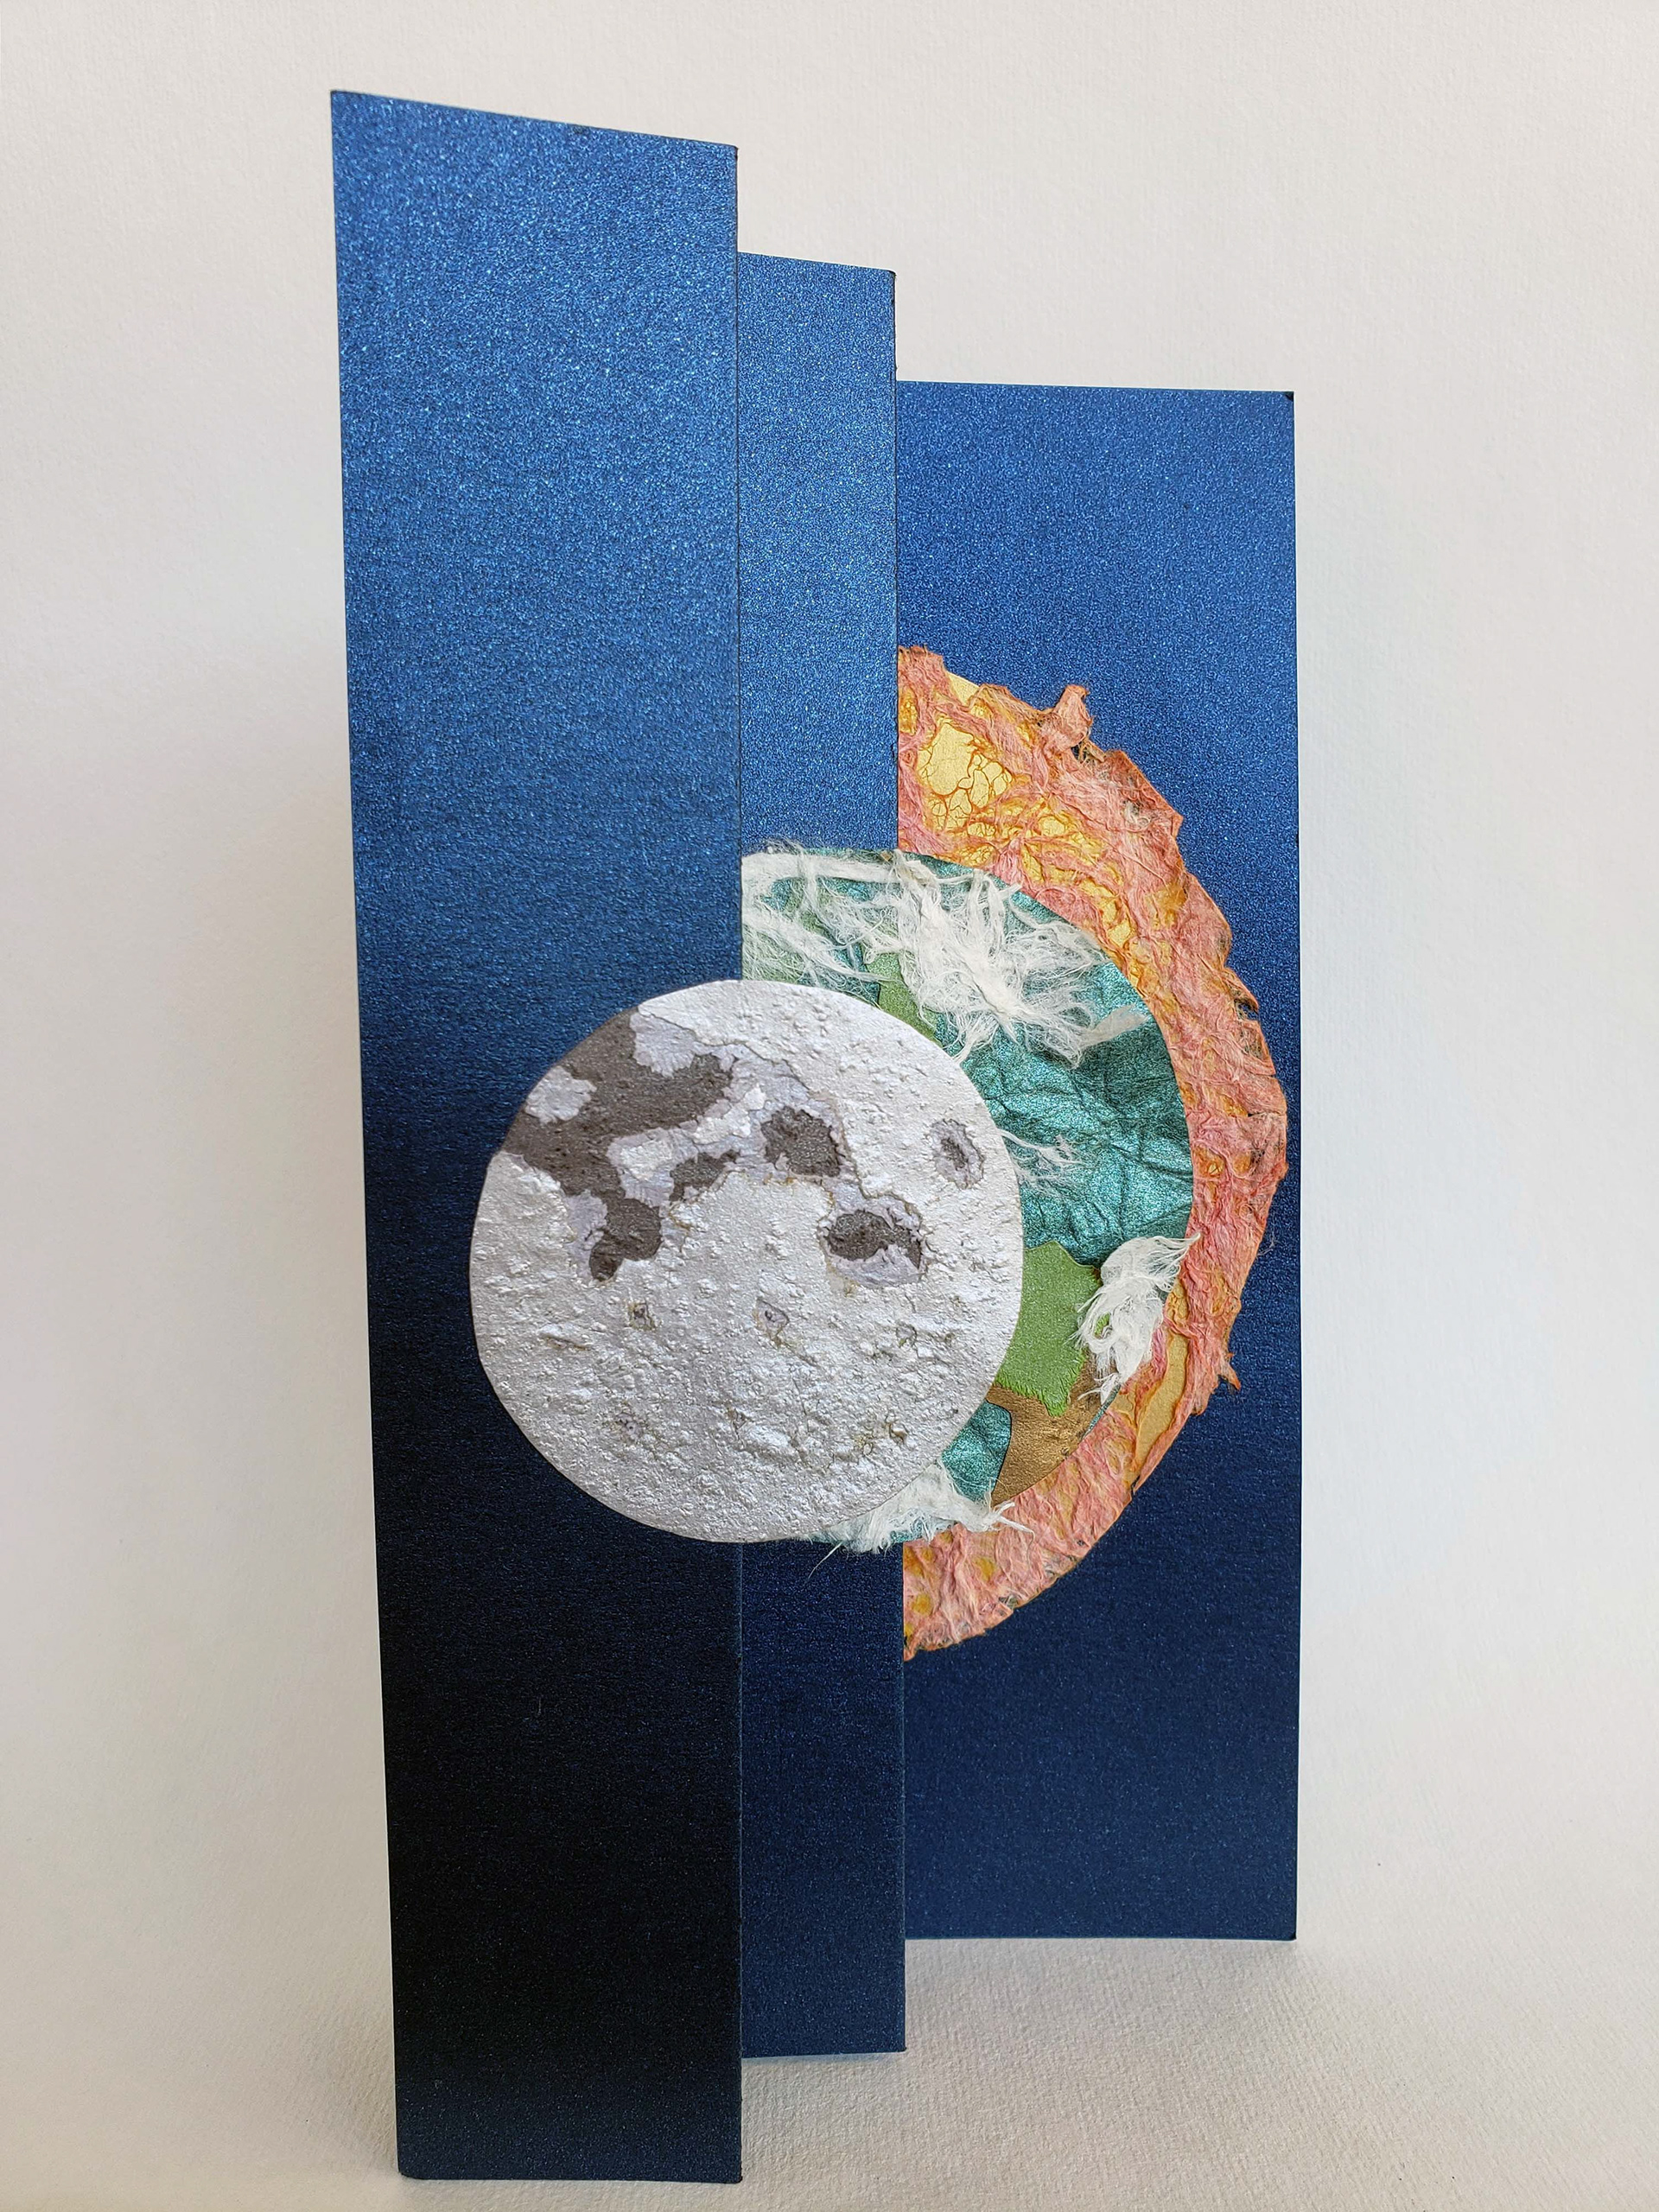
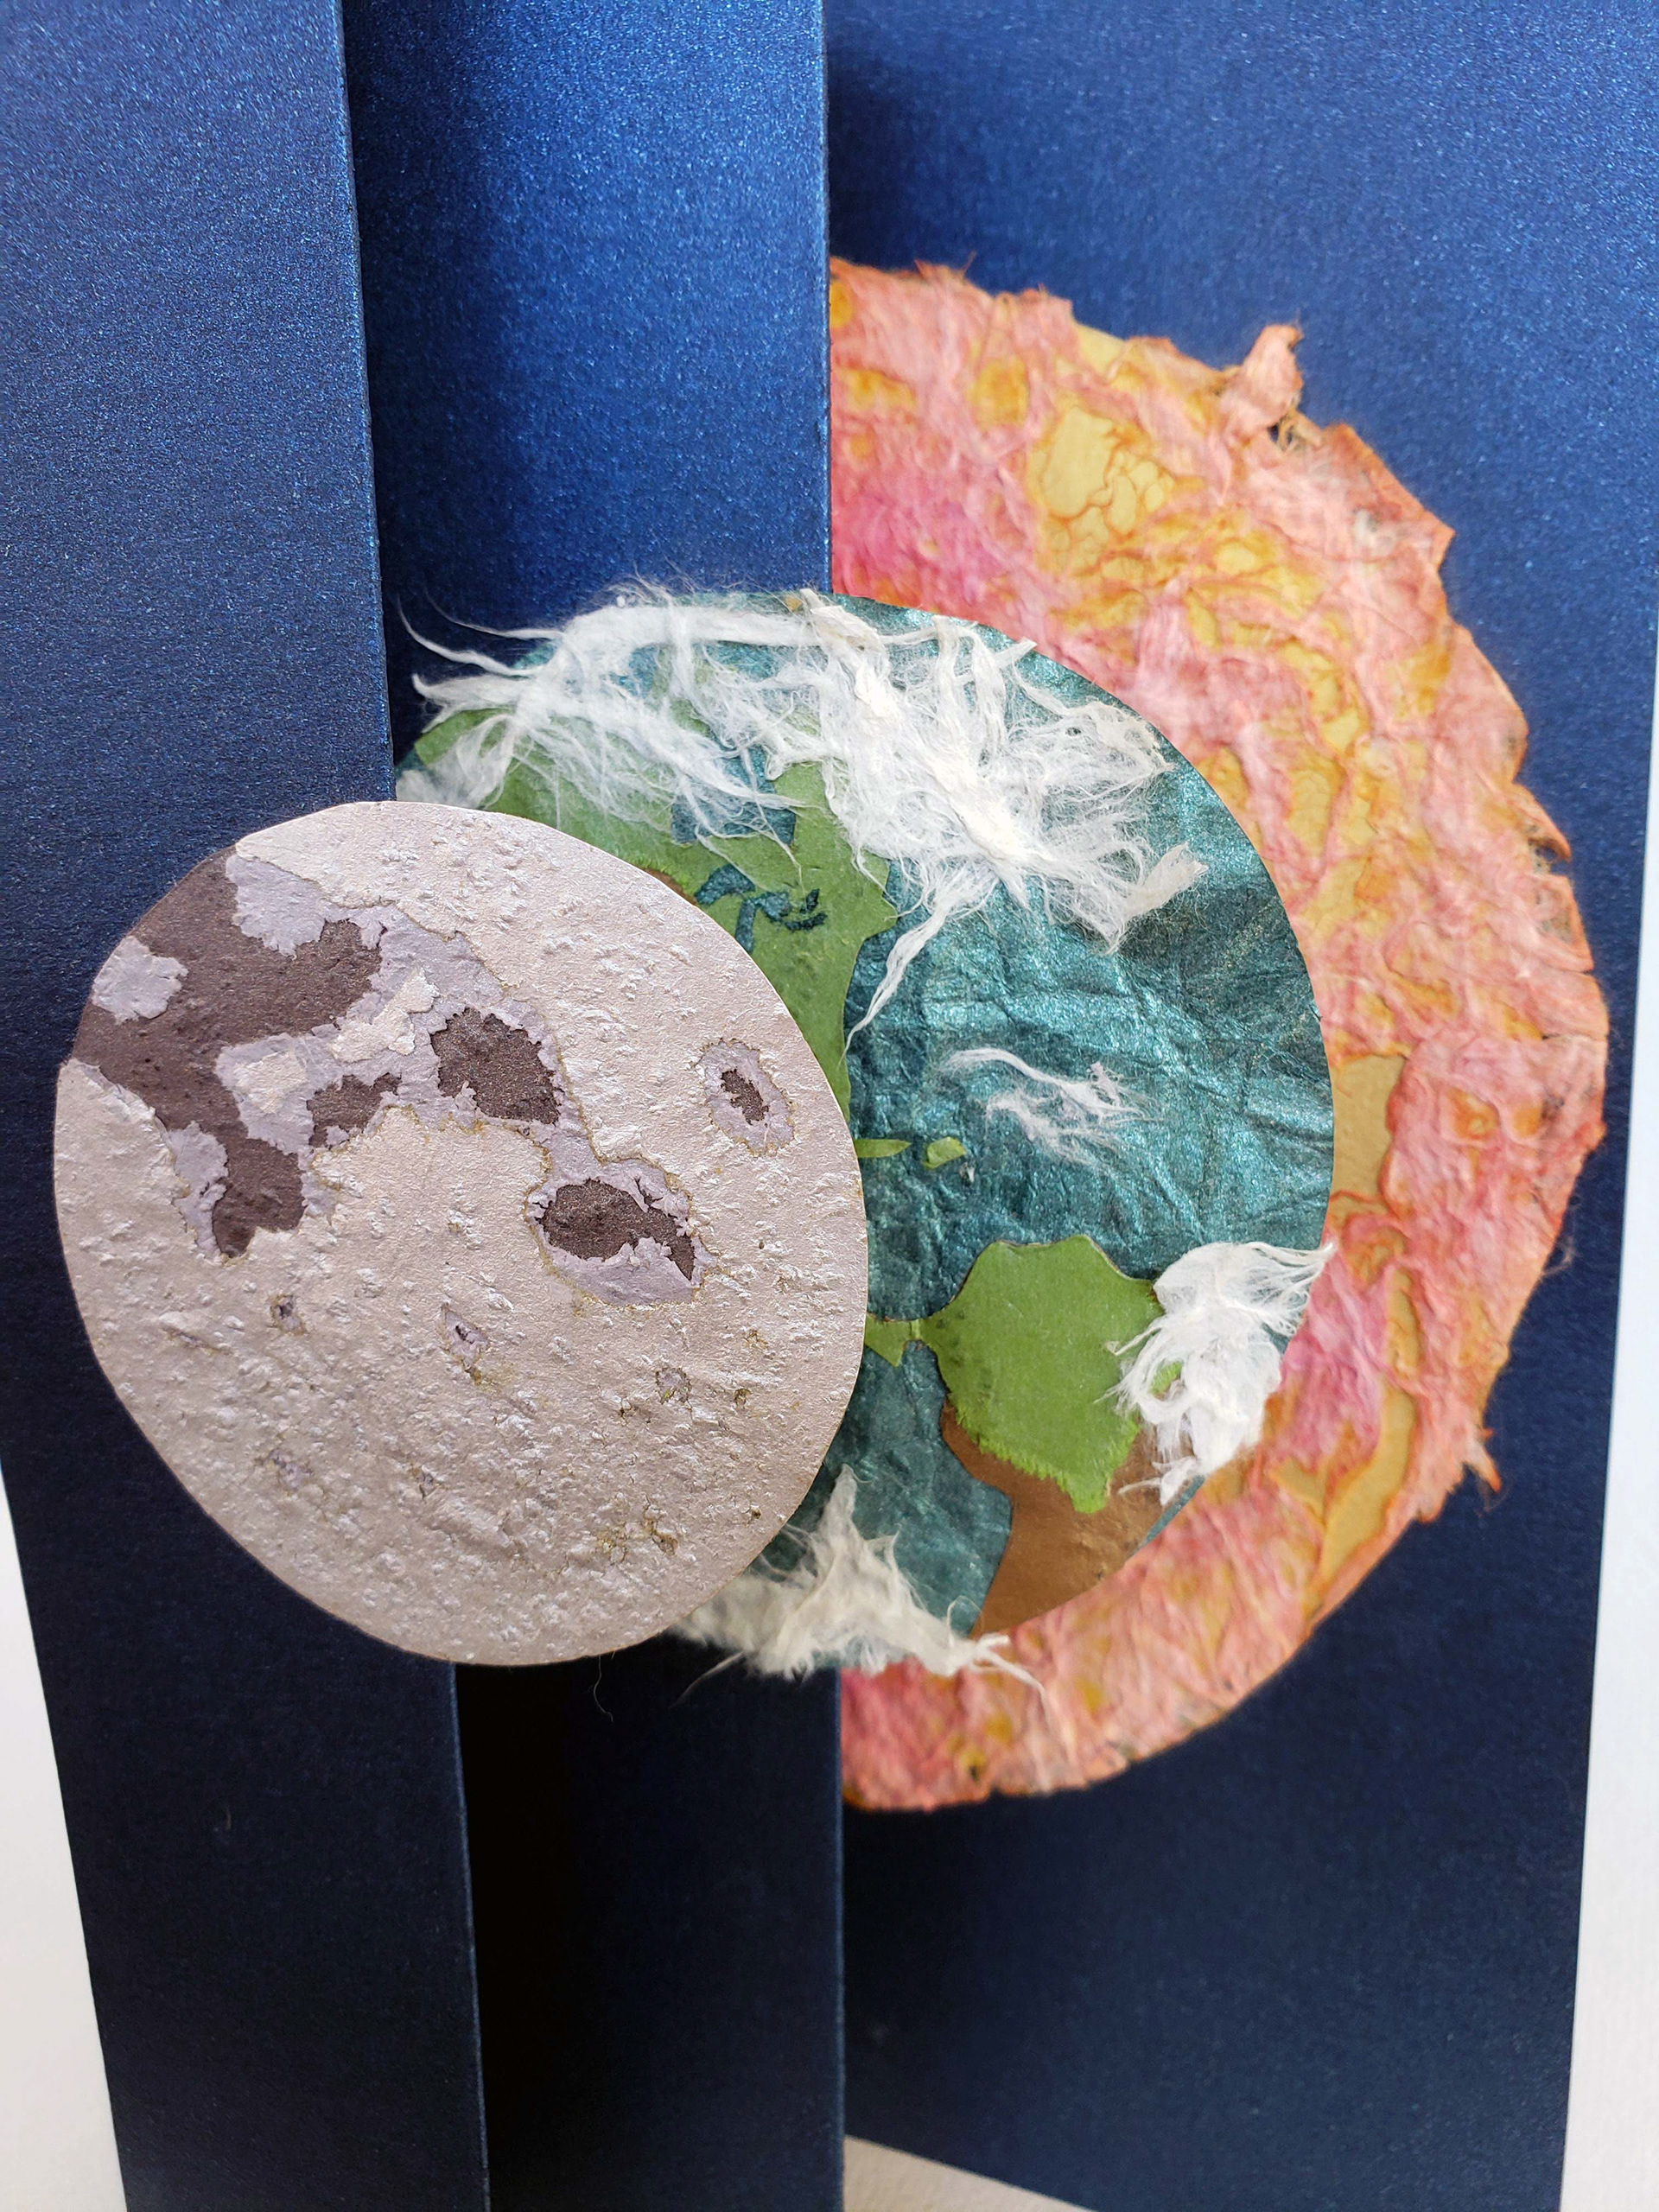
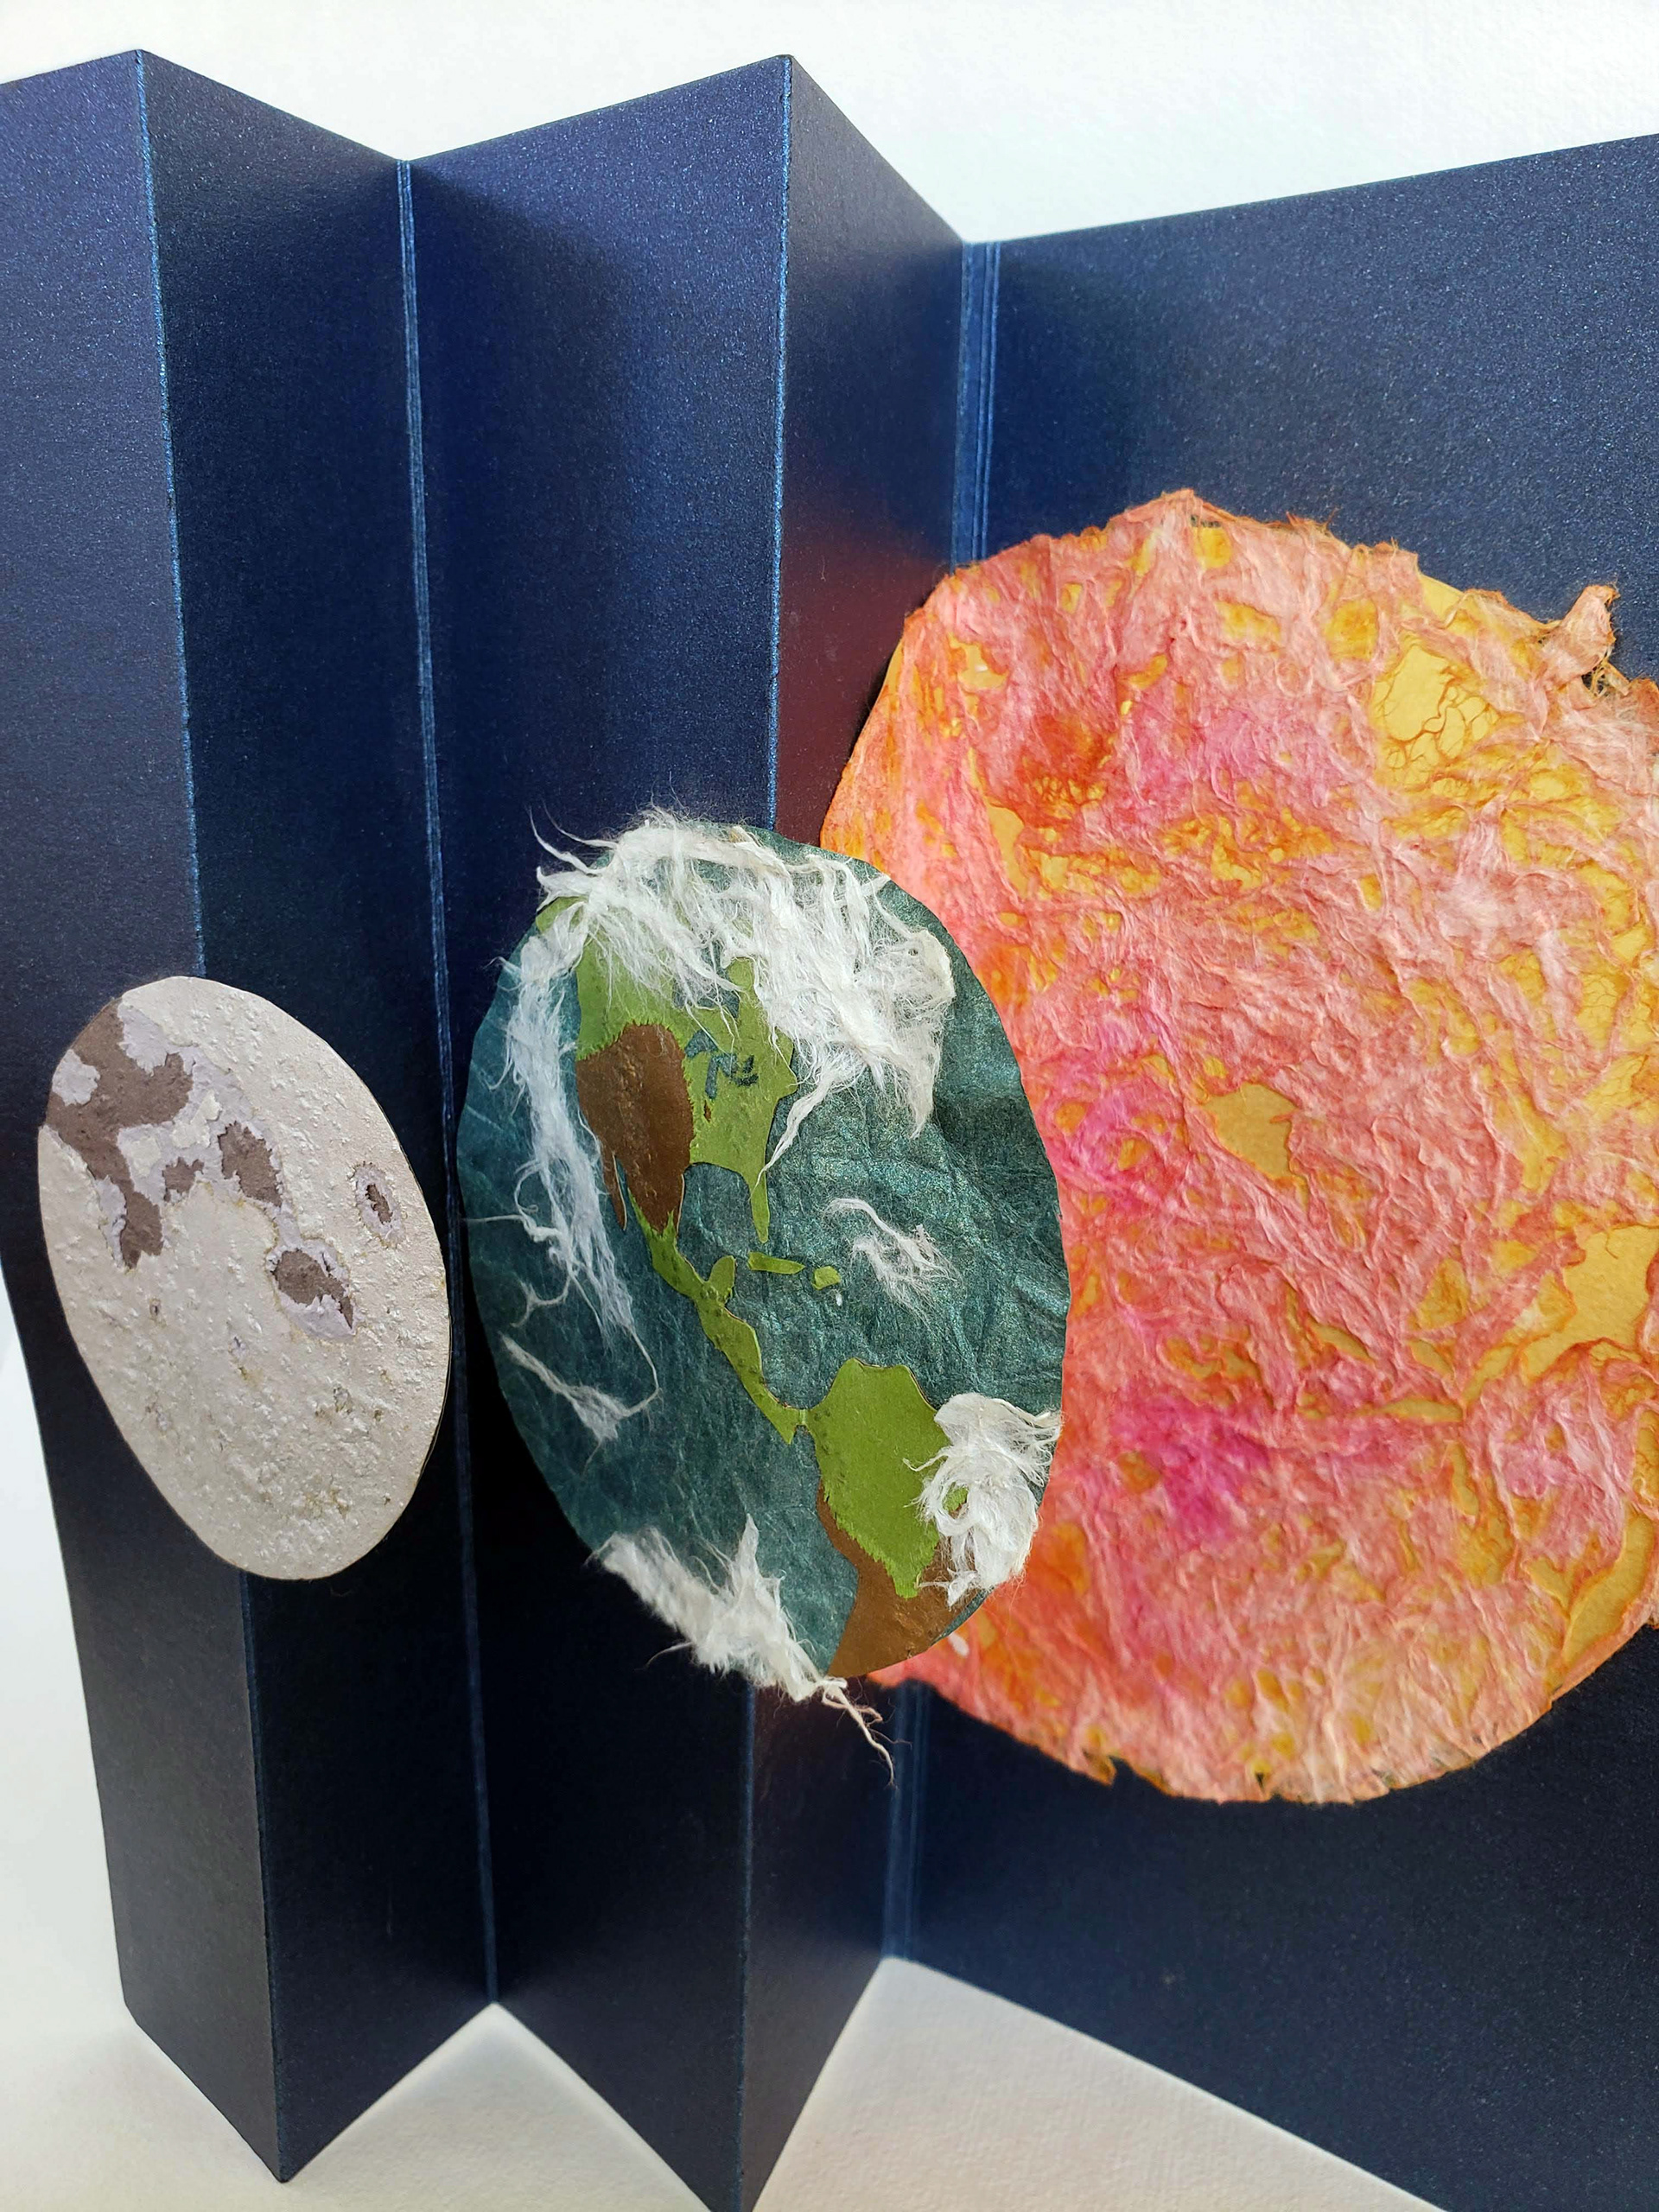
An accordion card I made for my husband on our 1st anniversary, which is the 'paper' anniversary. Our anniversary falls on the winter solstice, which also happened to be a lunar eclipse that year (2010), so it seemed appropriate to capture the moment with metallic card stock and rice paper.
Over the years I have made my own pop-ups, elaborate 3D collages and other paper cards and gifts for friends and family. I enjoy the flexibility paper has to be formed, cut, shaped, painted and inked. Paper can be incredibly strong and structural while also being easy to work with. I have beaten it with hammers and distressed it with sandpaper, pulled it apart to just fibers, stitched it together, and soaked it in various liquids to see what happens to the color and texture when it dries out. Paper gives me the freedom and flexibility that metal doesn't always have, but is still strong enough to withstand a lot of experimentation.

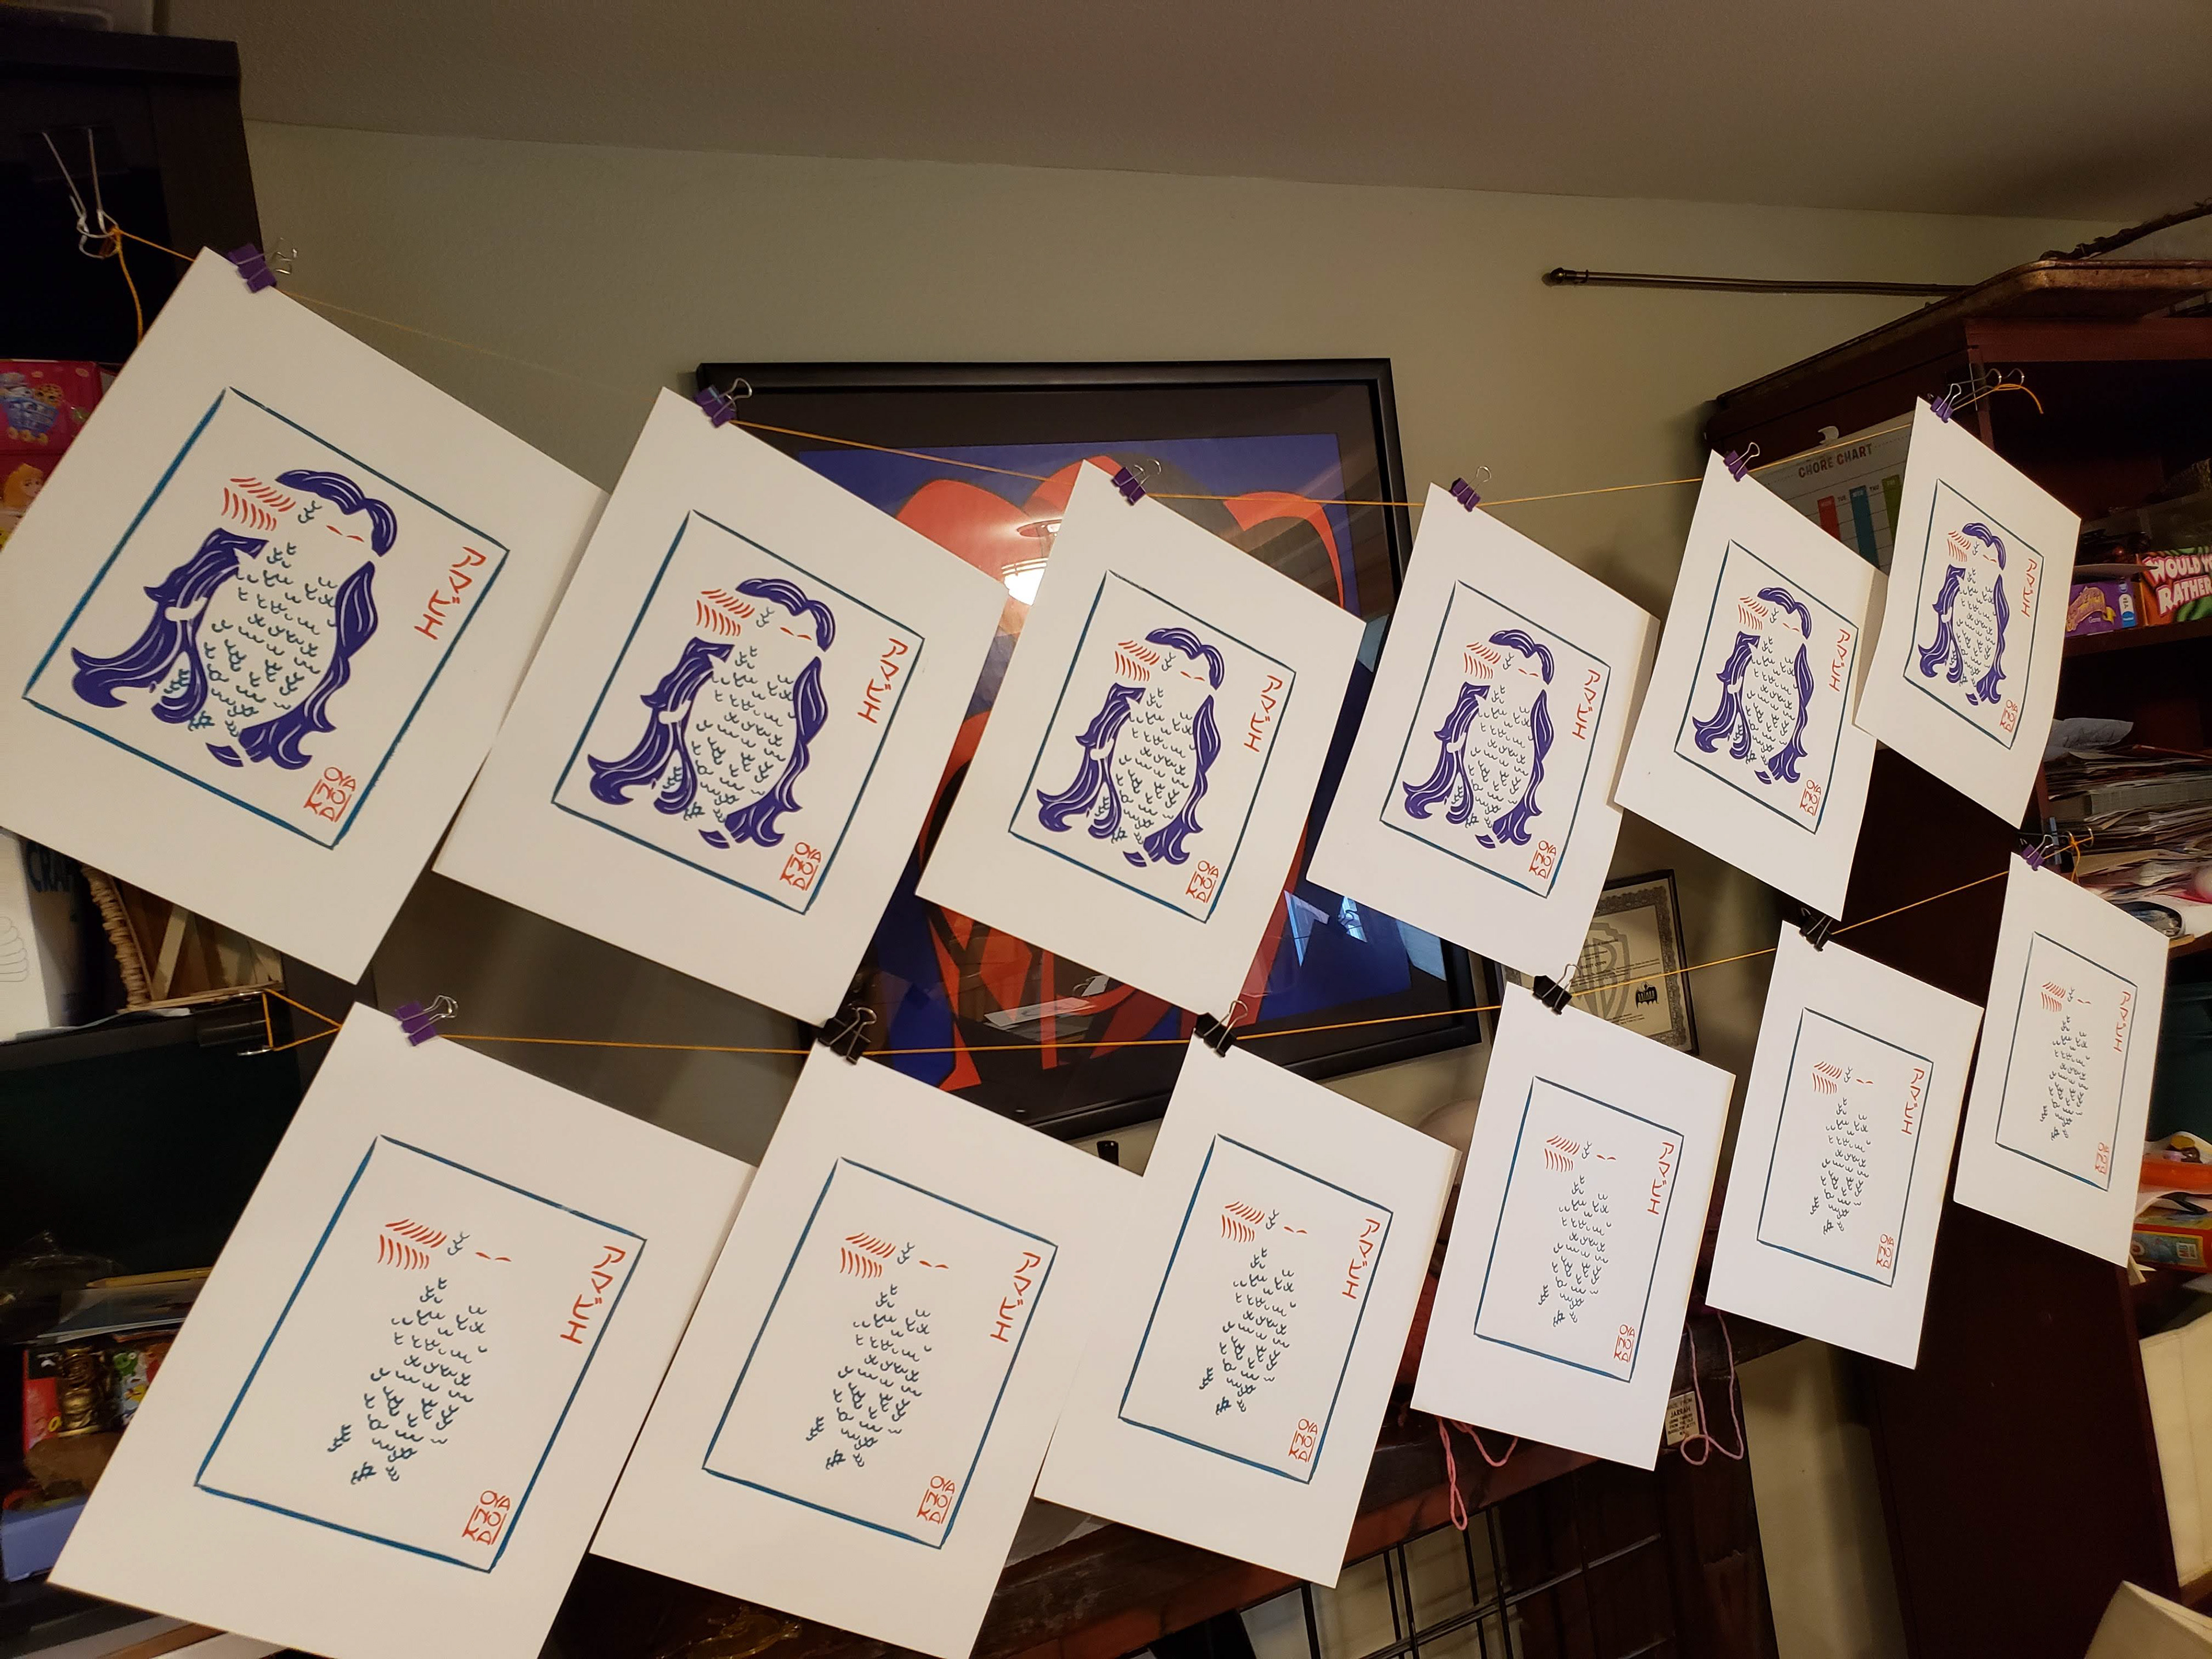
I designed a logo, which I talk more about on my Graphic Design and Logos page, and decided to make 10 original 4 color, hand-pulled block prints of it for the Japanese Immersion Program to auction. Here is one of the final prints, below I talk about my process.
Photo and frame by Takahiro Moriki.
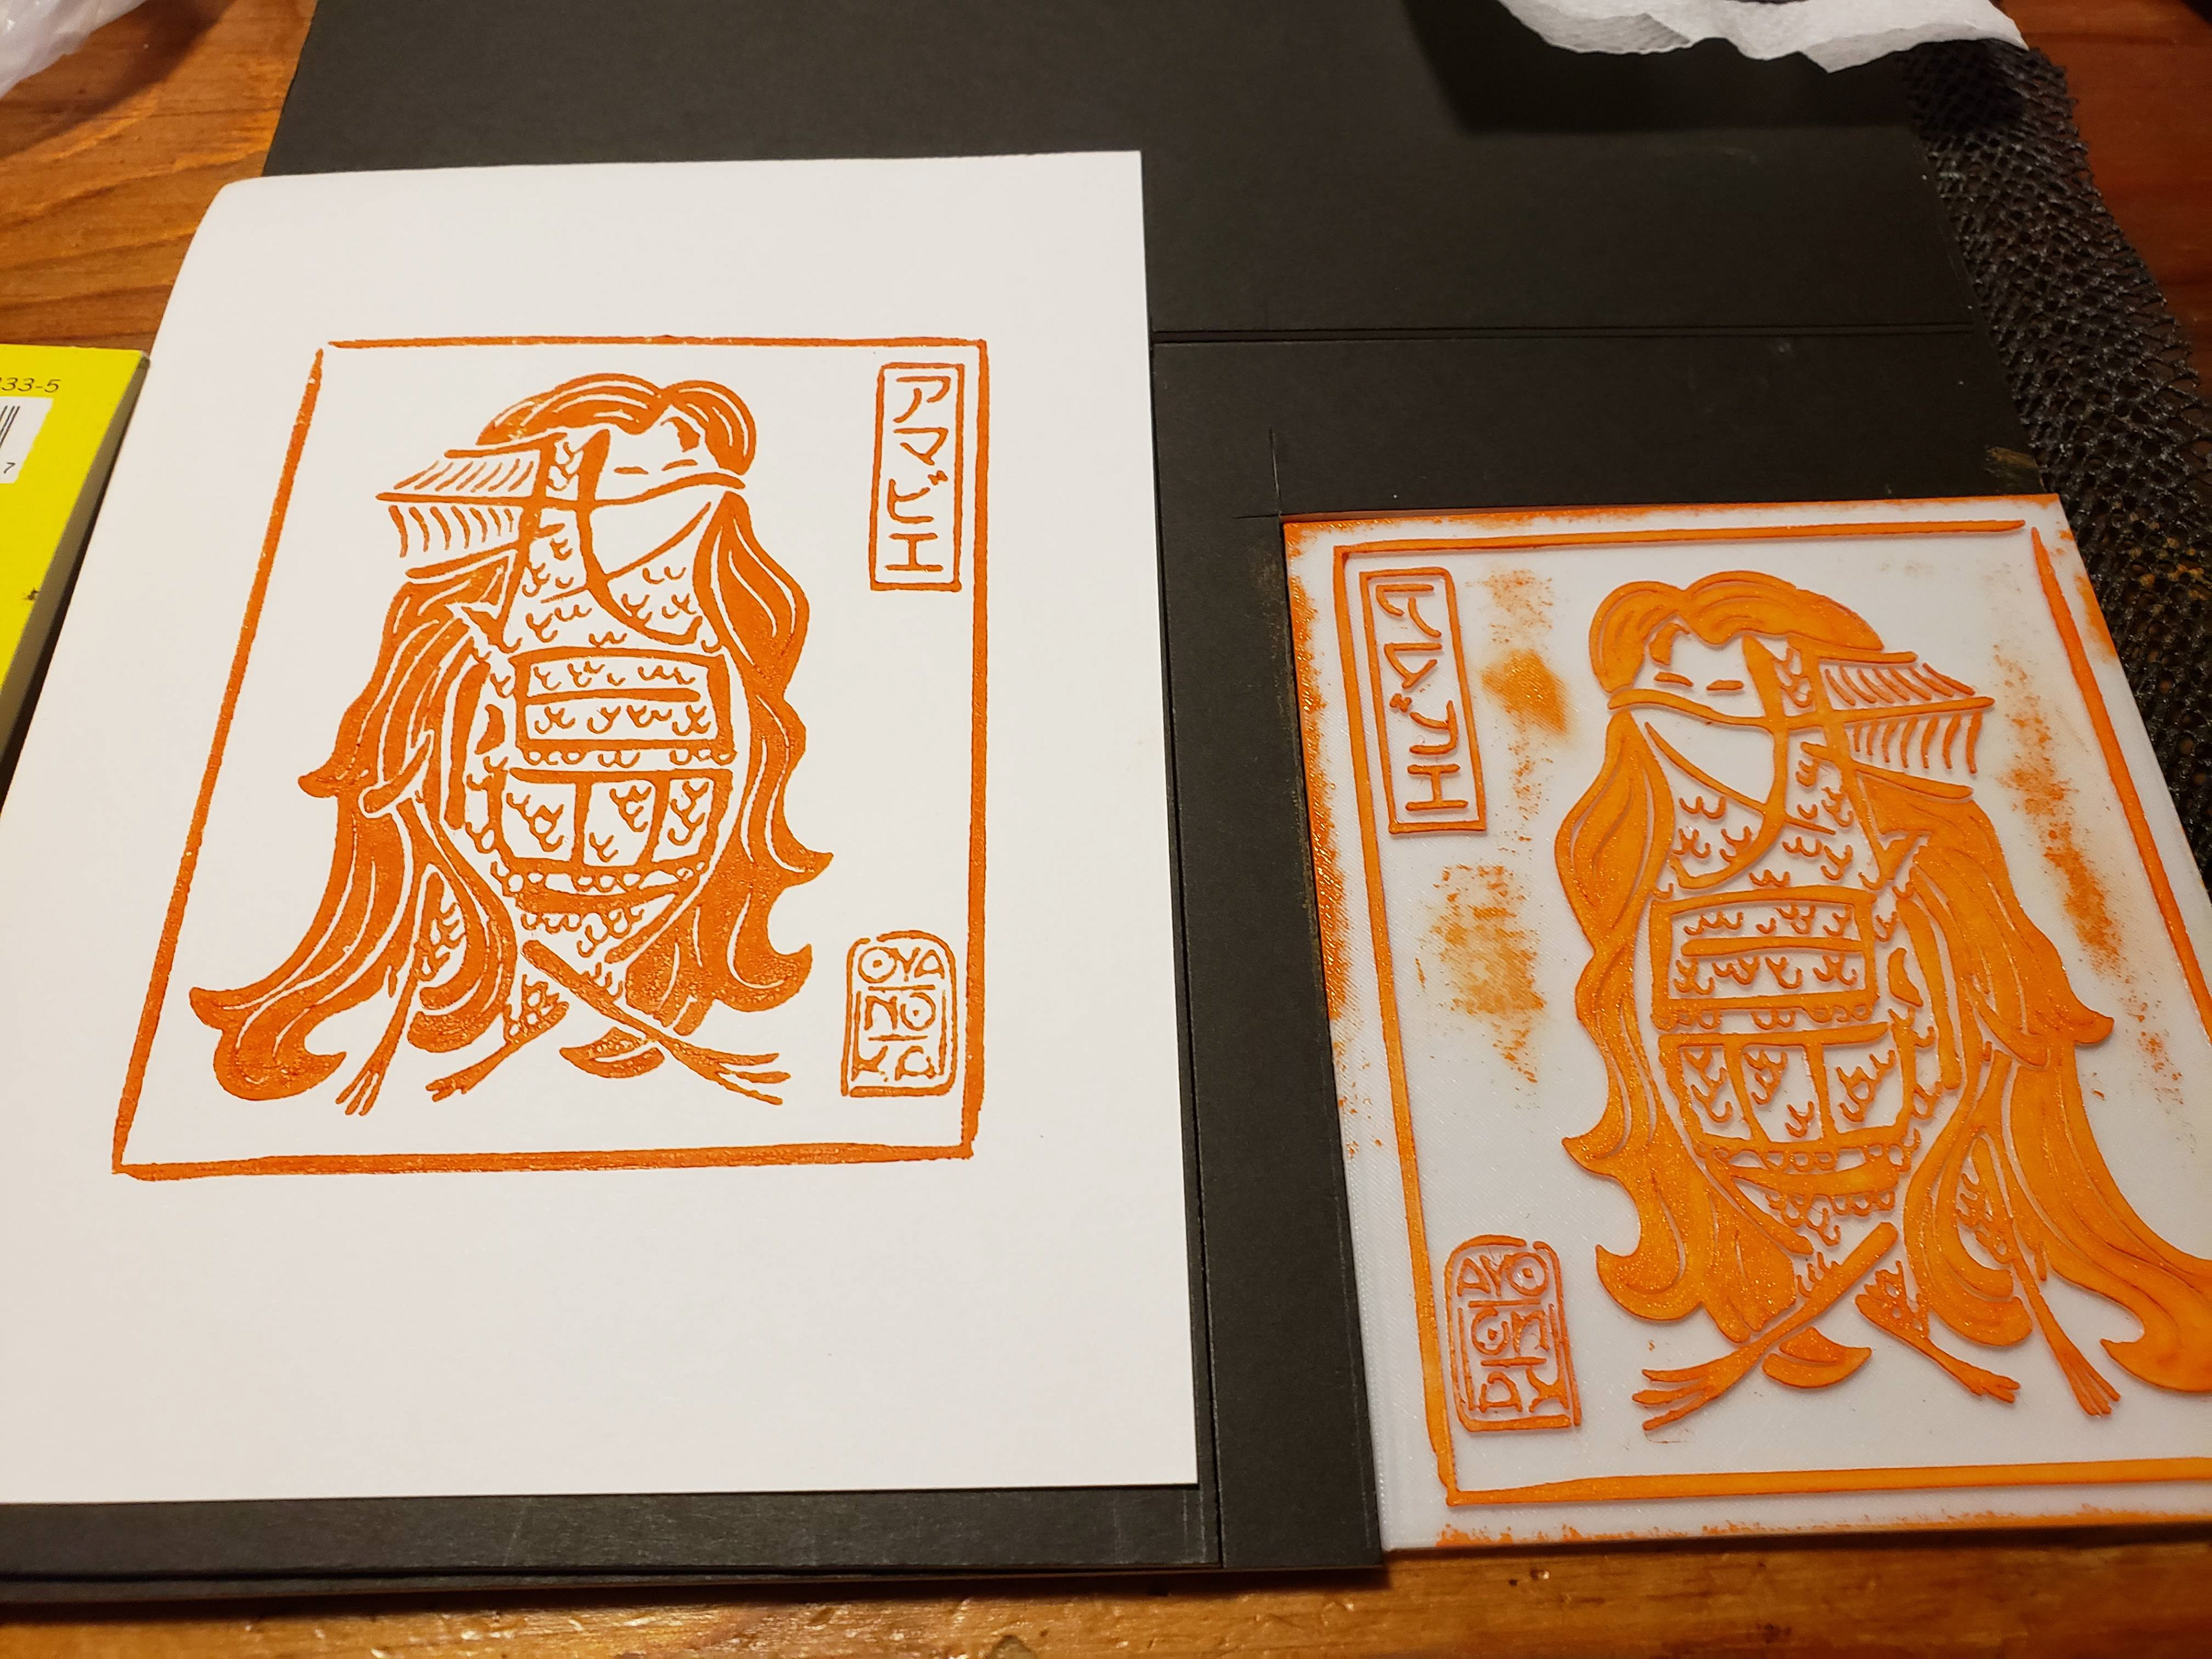
The smaller 3D plate we made to test block printing with a 3D plate.
2 colors finished, half way through the 3rd.
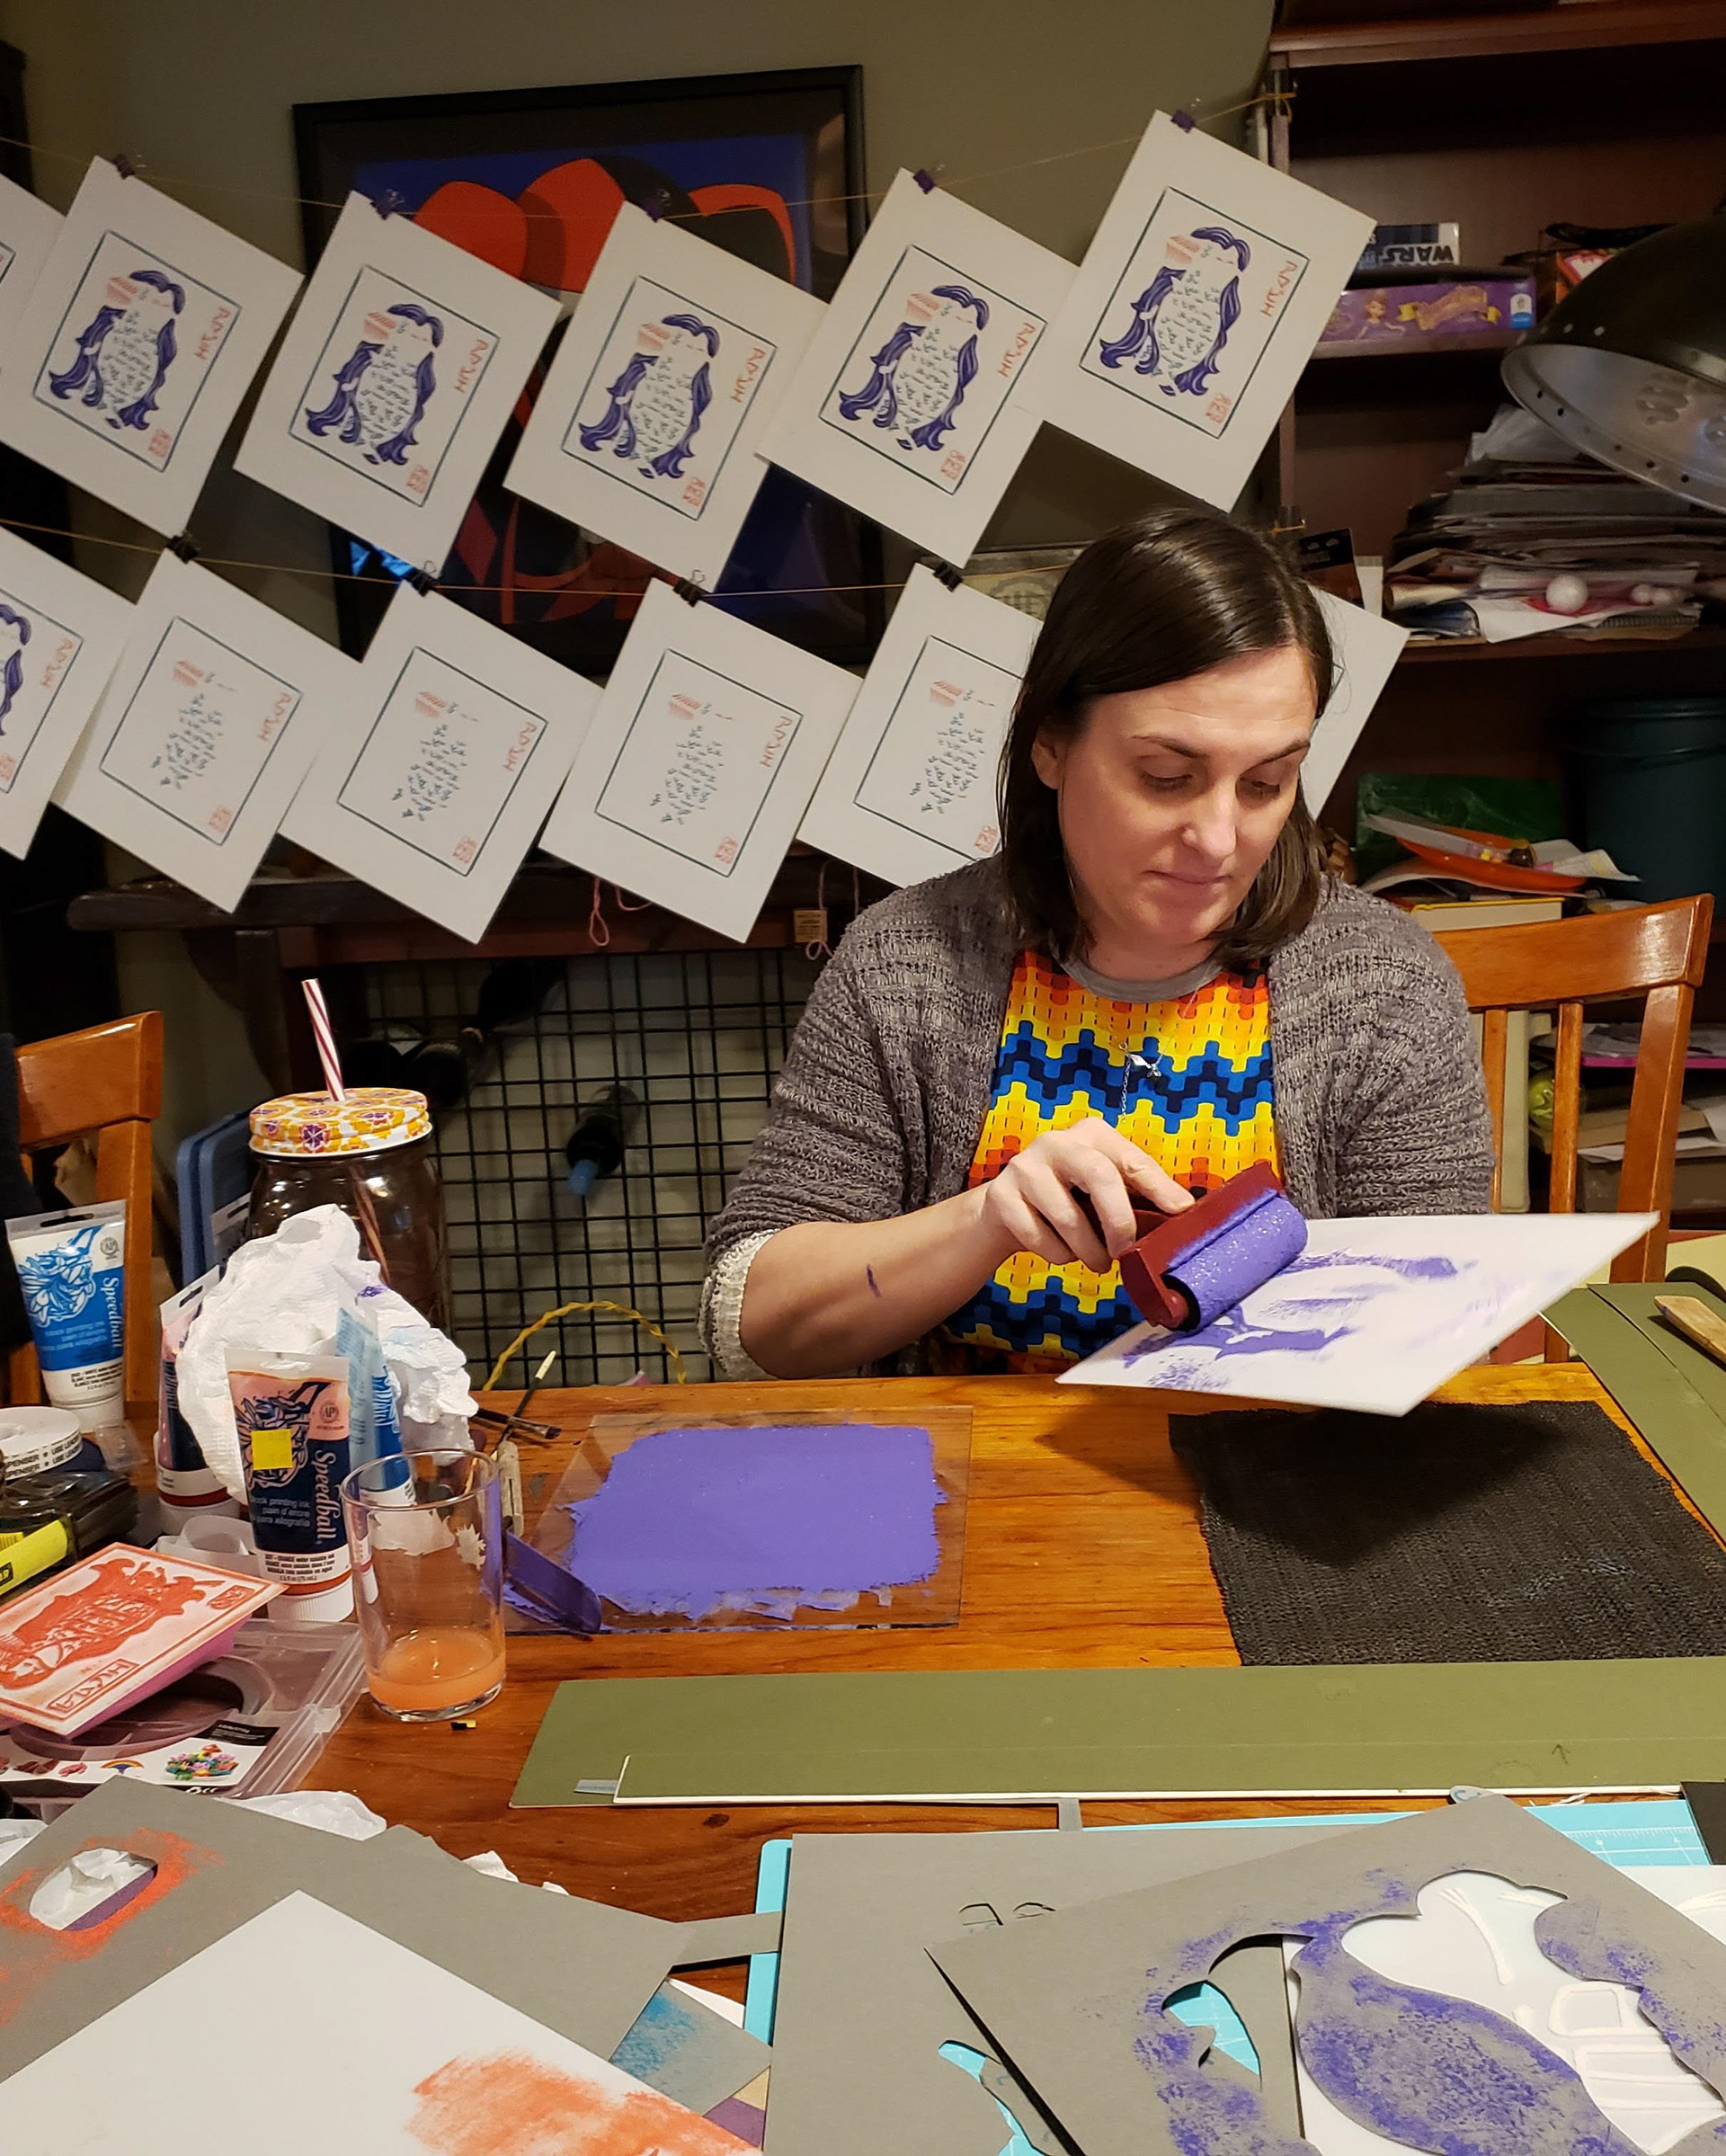
Inking the 3D printed plate.
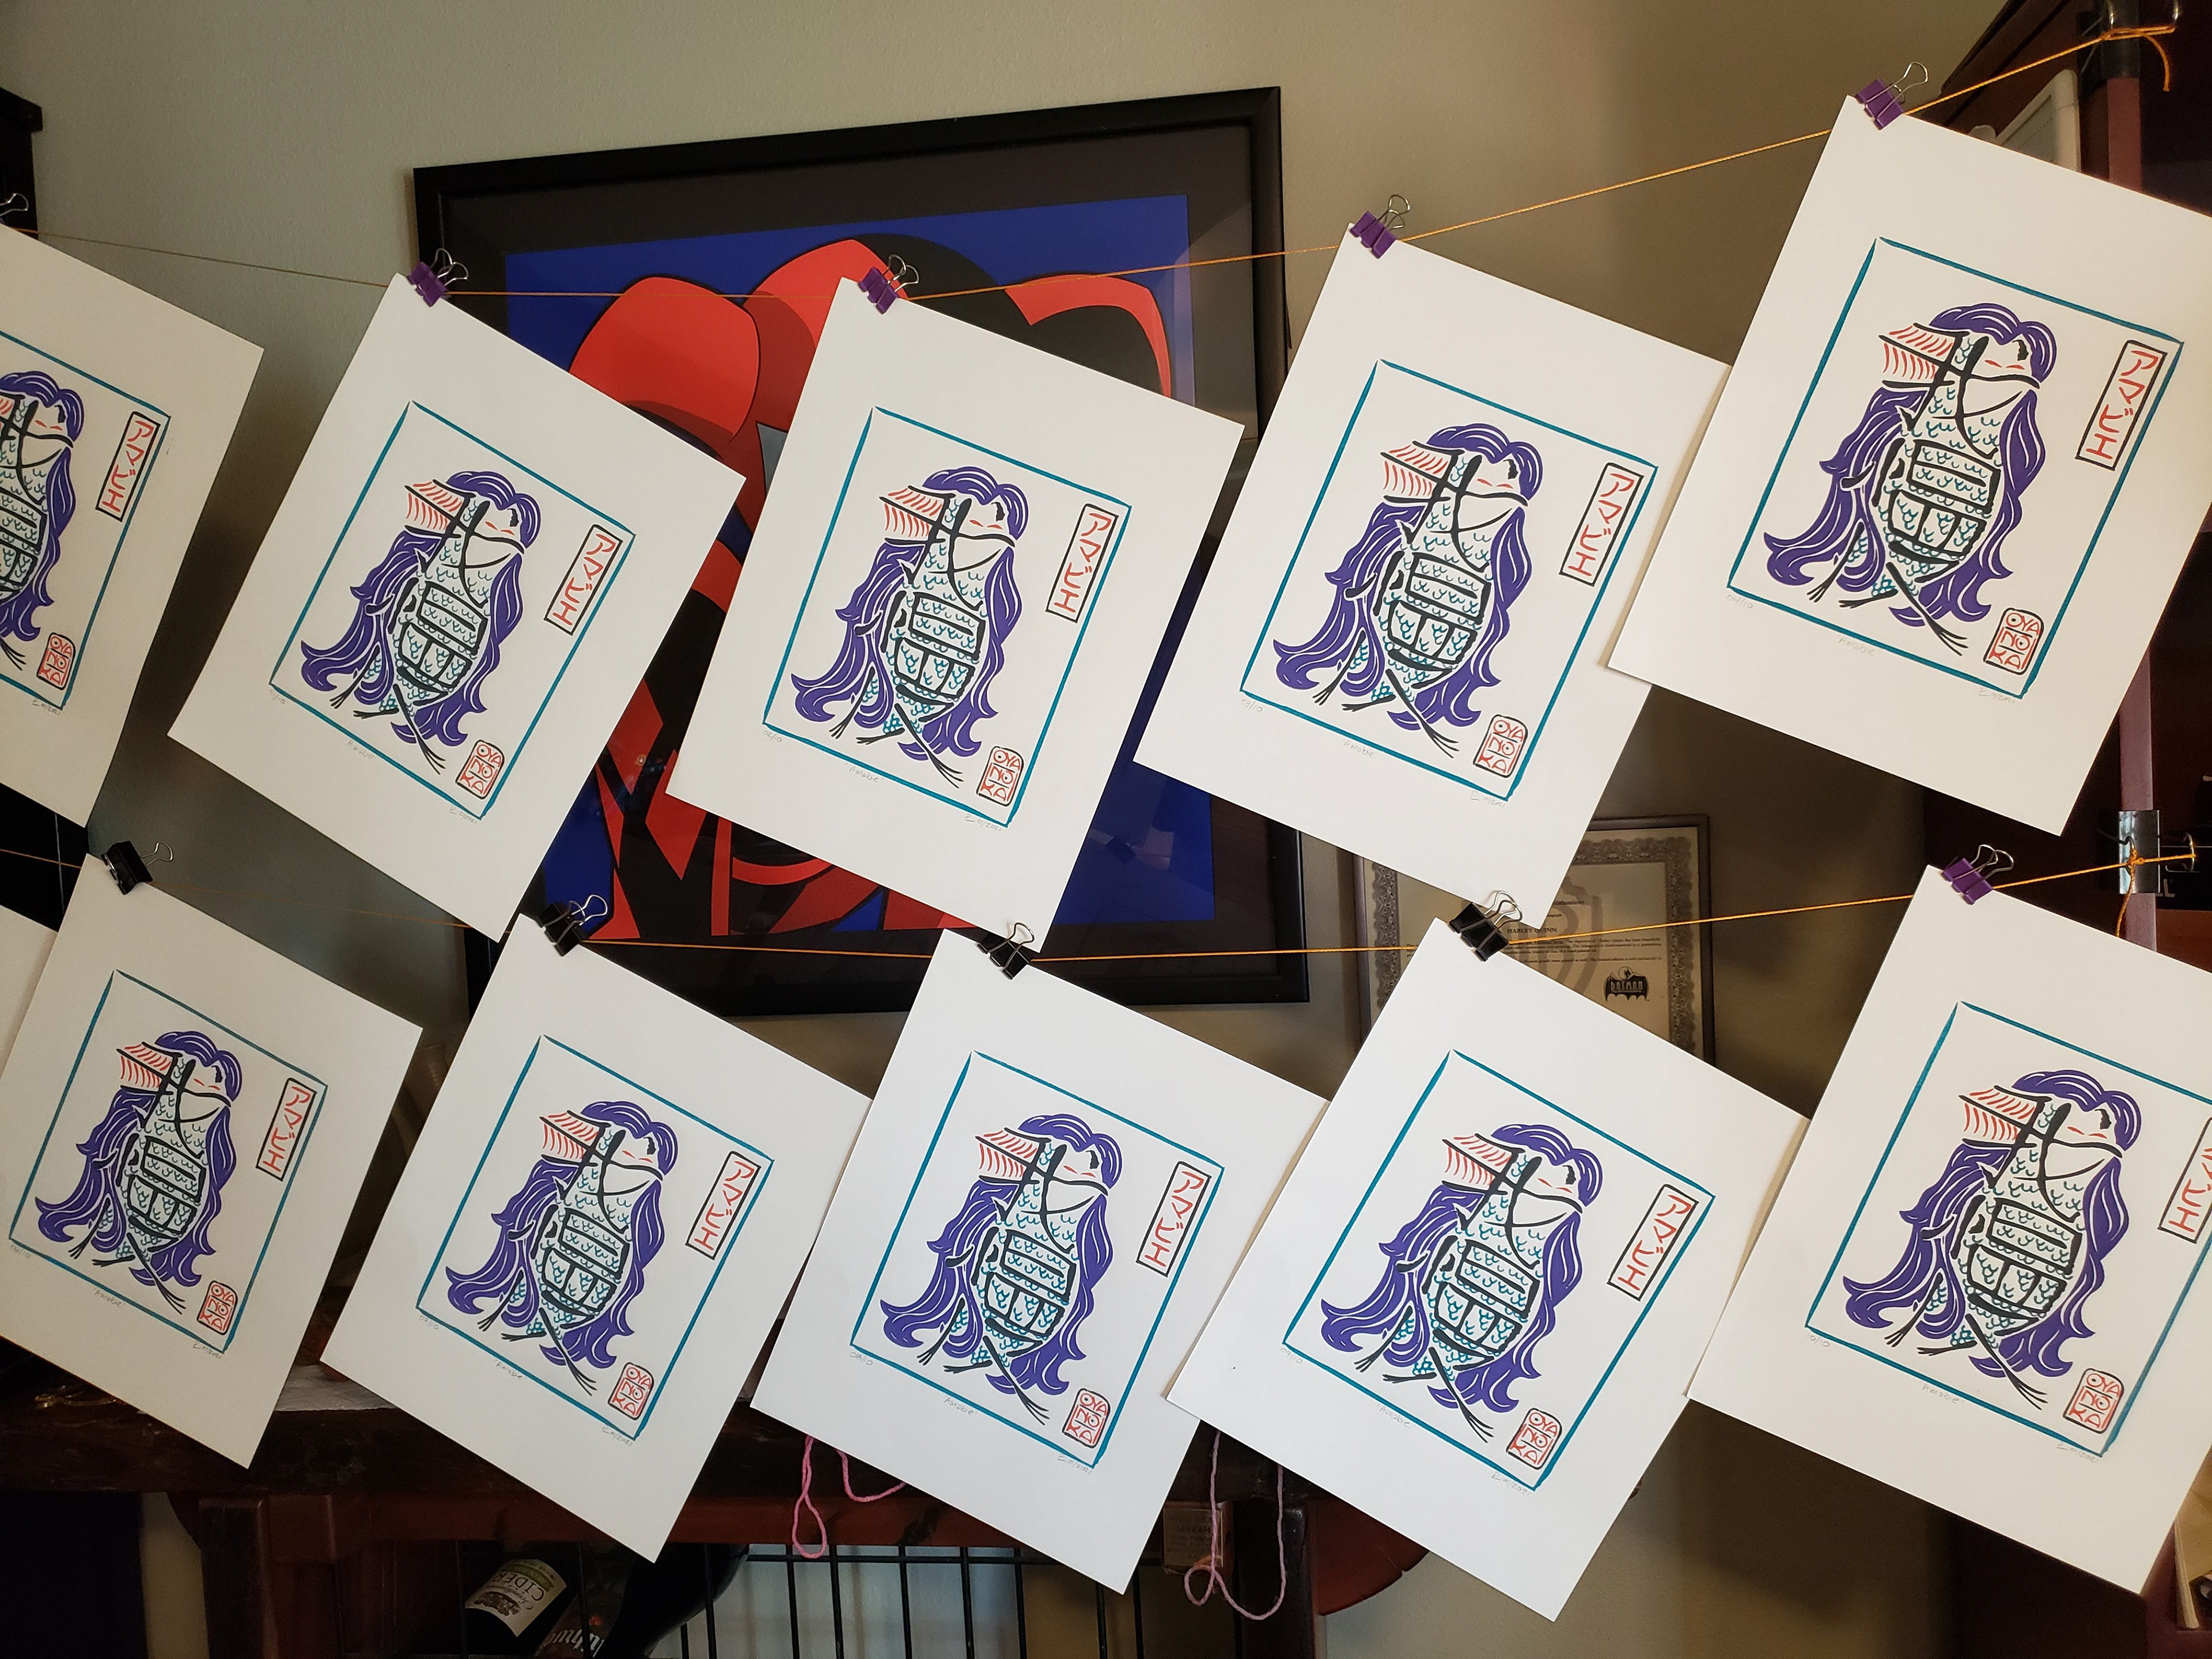
10 finished 11" x 14" prints! (plus 1 extra 'artist proof' print just in case)
I had not done a hand made block print since college, but I enjoyed the challenge. My husband had the brilliant idea to 3d print the plates for it, instead of carving them, so that the 4 colors would be easier to line up in the final prints. We made a small plate to test our theory and it worked great, so we enlarged them and separated out the different color areas. The prints turned out great! I am excited to add the 3D printer to my arsenal of tools that I use to streamline my creative process.
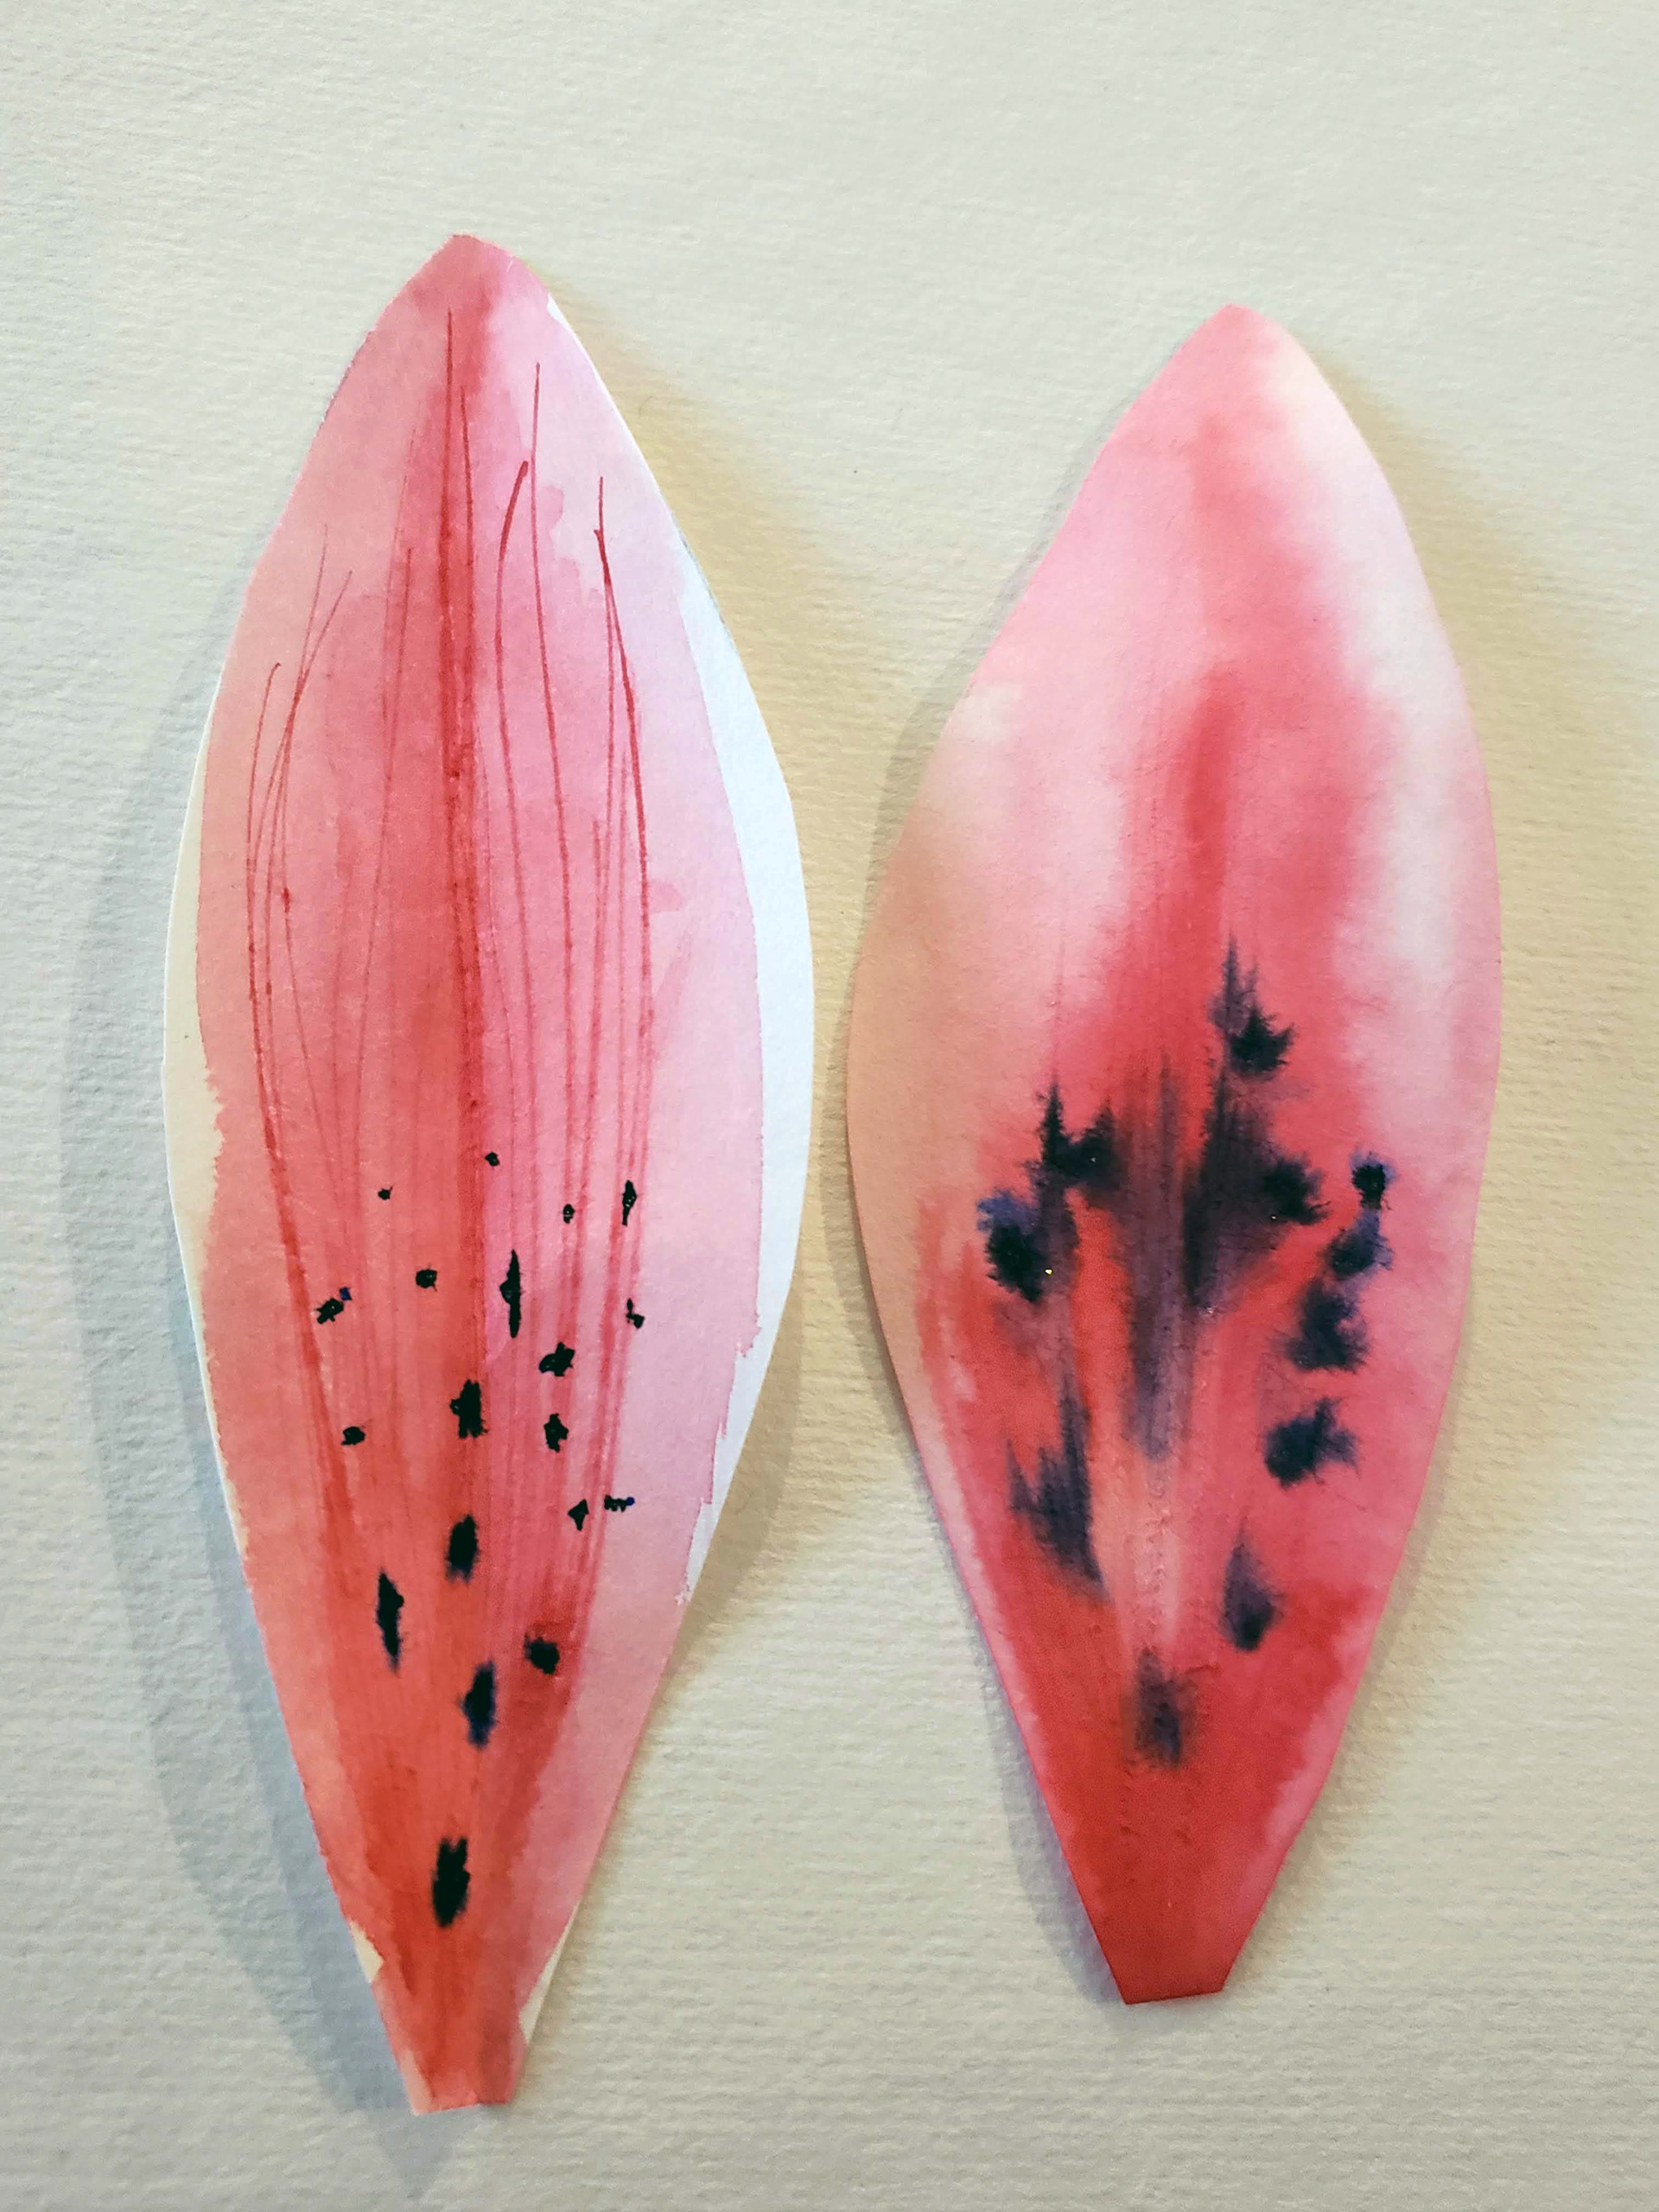
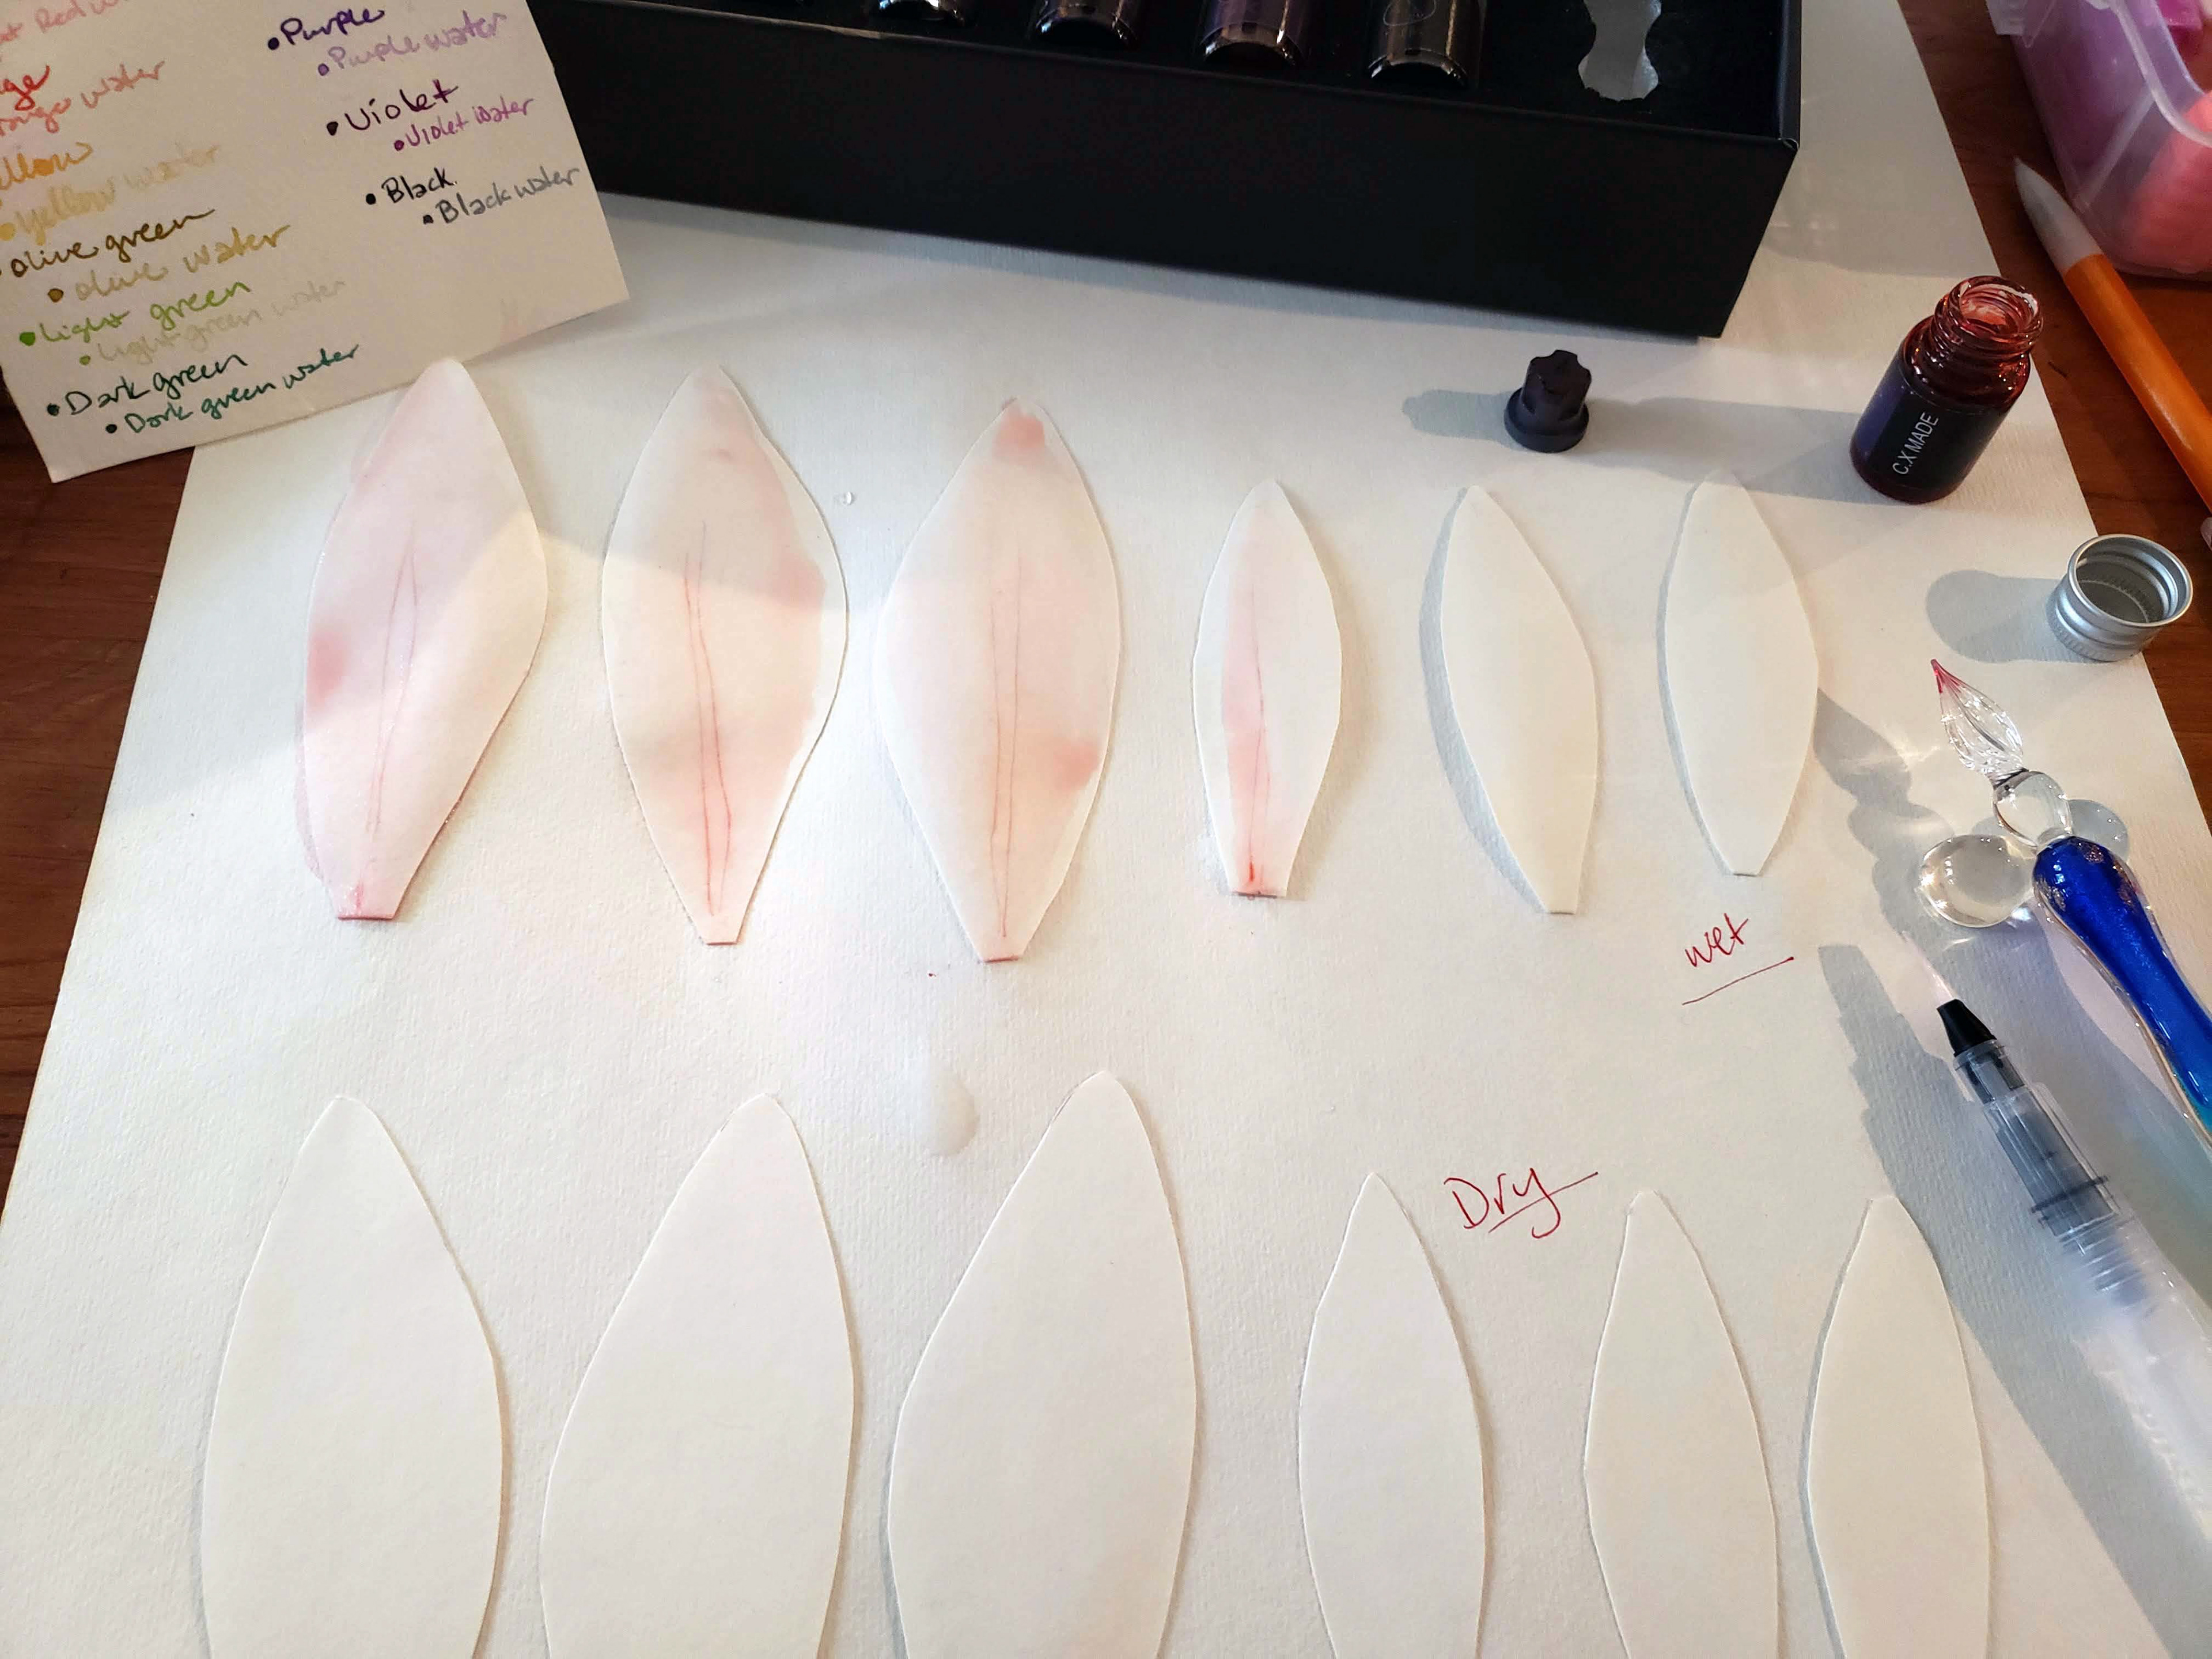
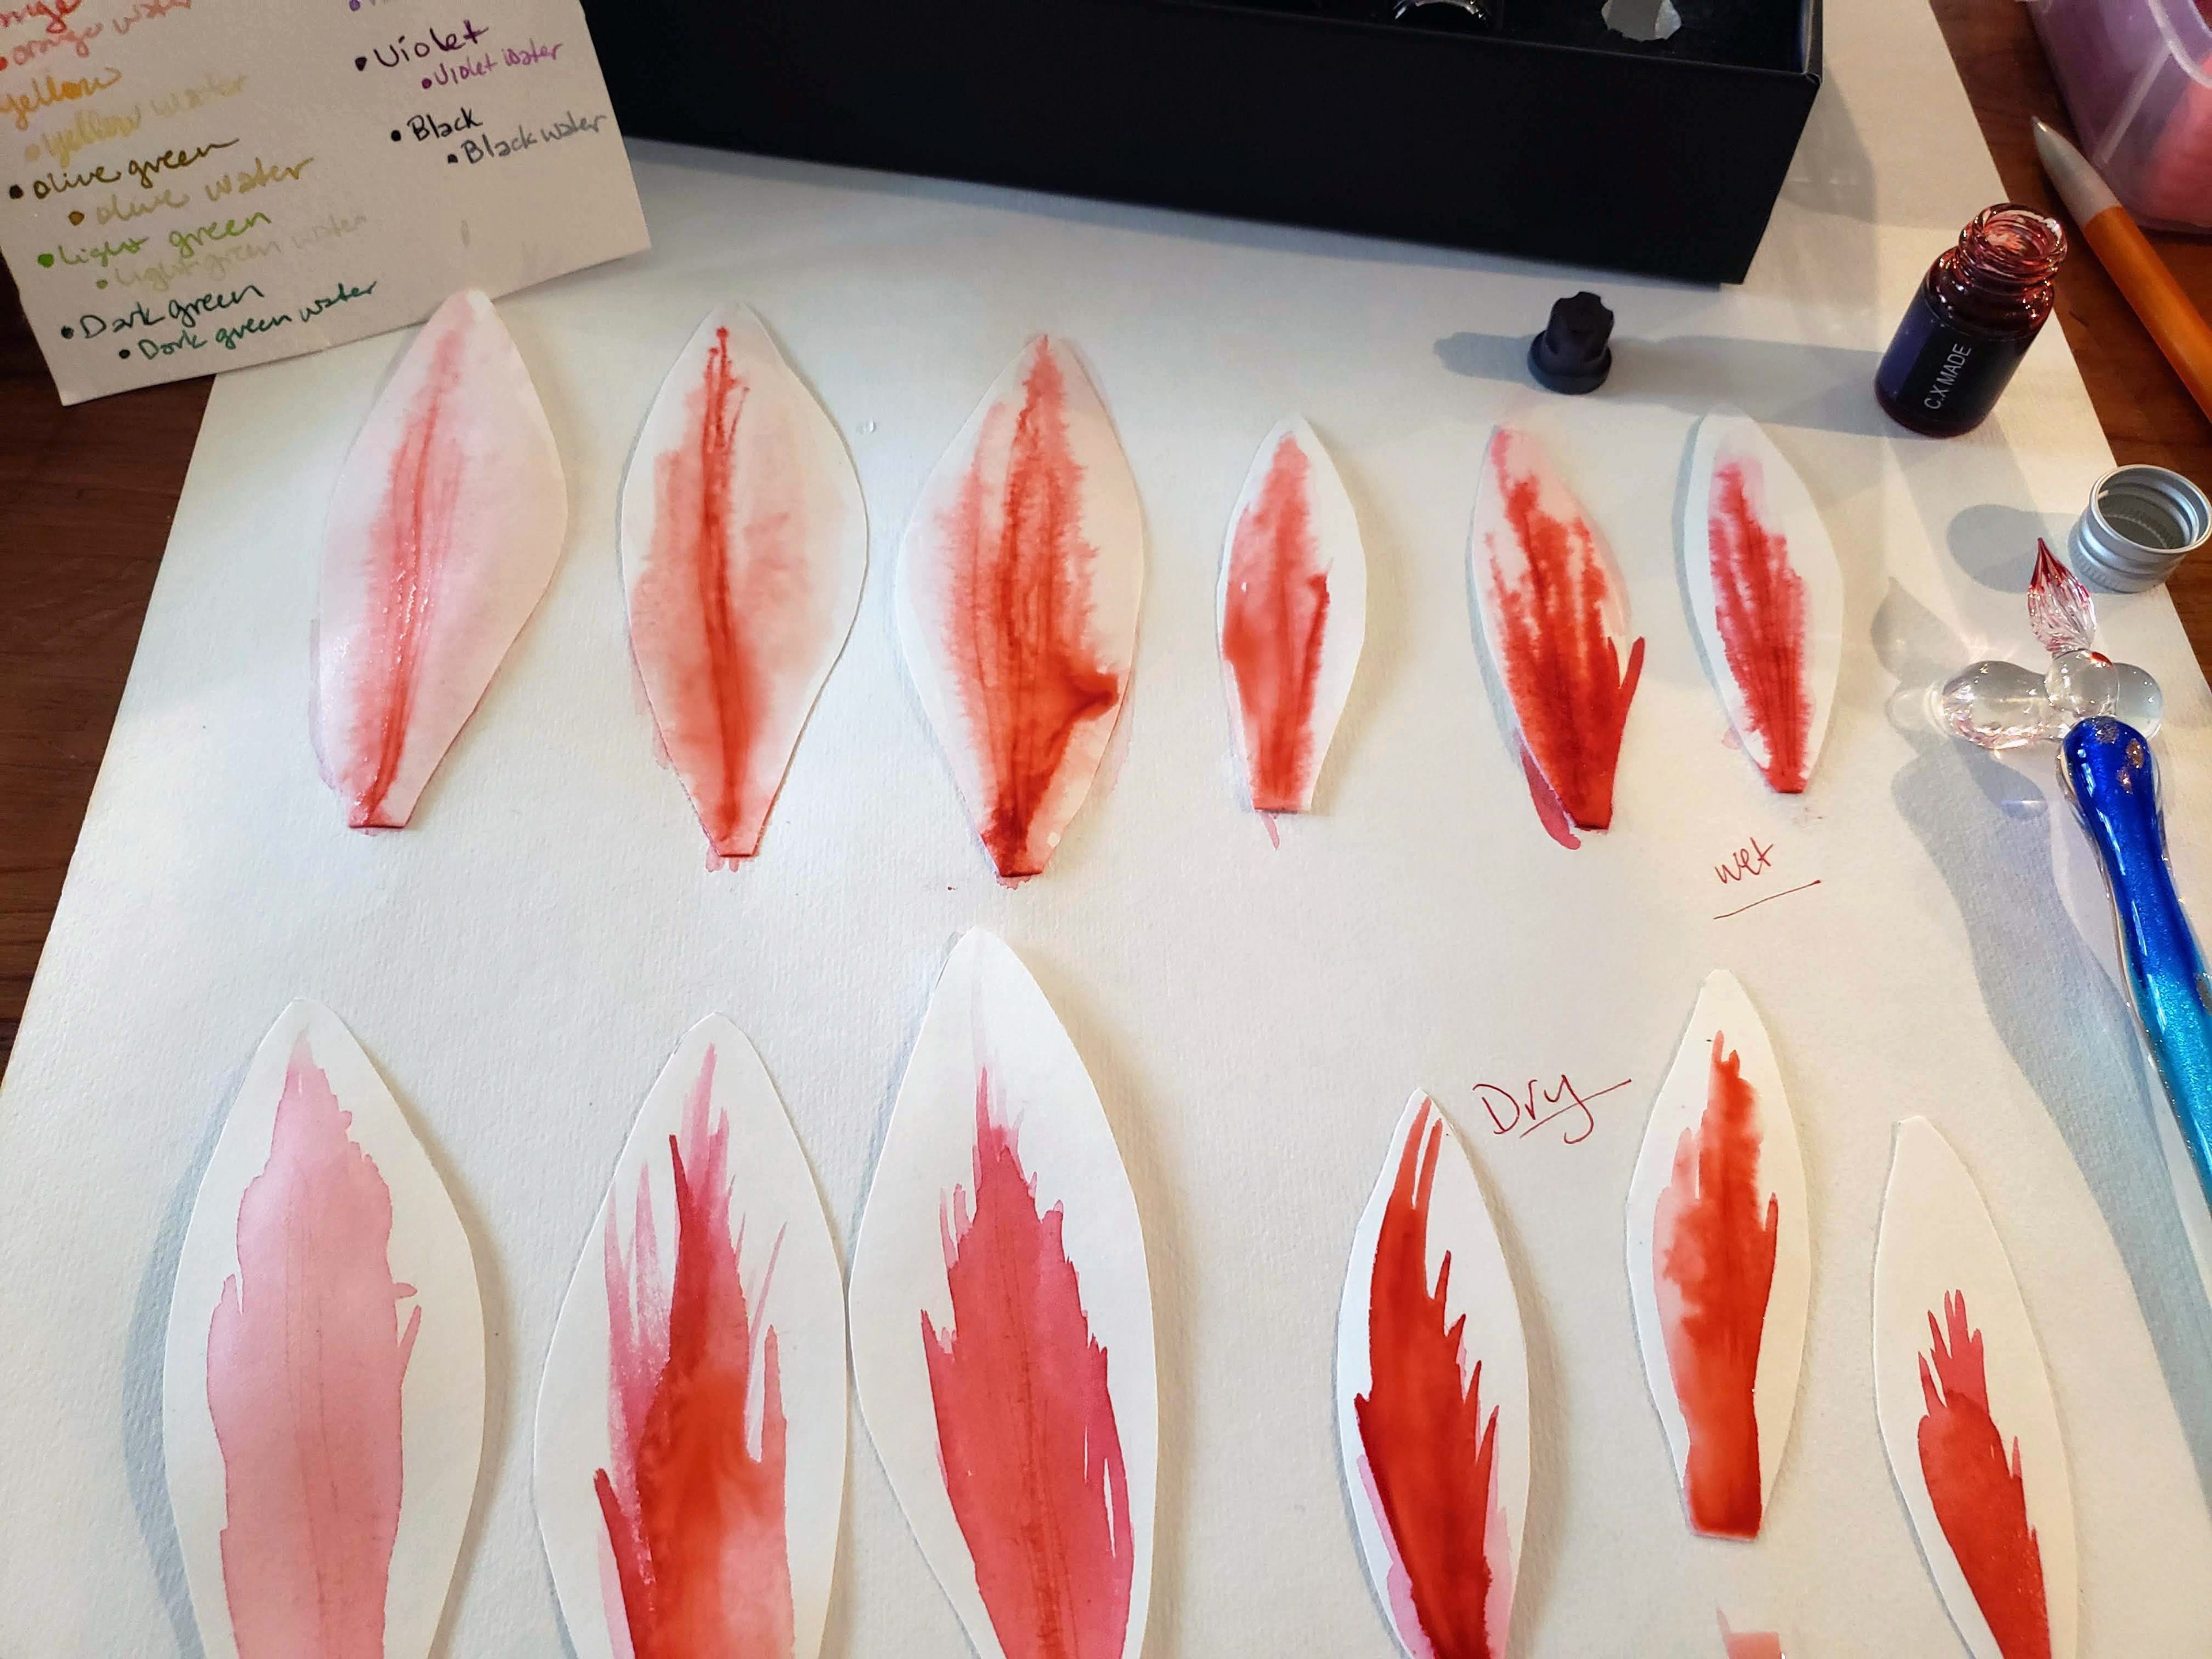
And, of course, paper has one far superior feature over metal, the ability to easily accept pigments and color! Sometimes I work with pre-colored paper and sometimes I experiment with dying it. Most recently I was gifted a glass fountain pen and ink set, so I have really enjoyed using them with a water pen to create beautiful line art with a wash effect! I am thinking this will make lovely details on paper flower petals and could be used for gorgeous hand drawn maps.
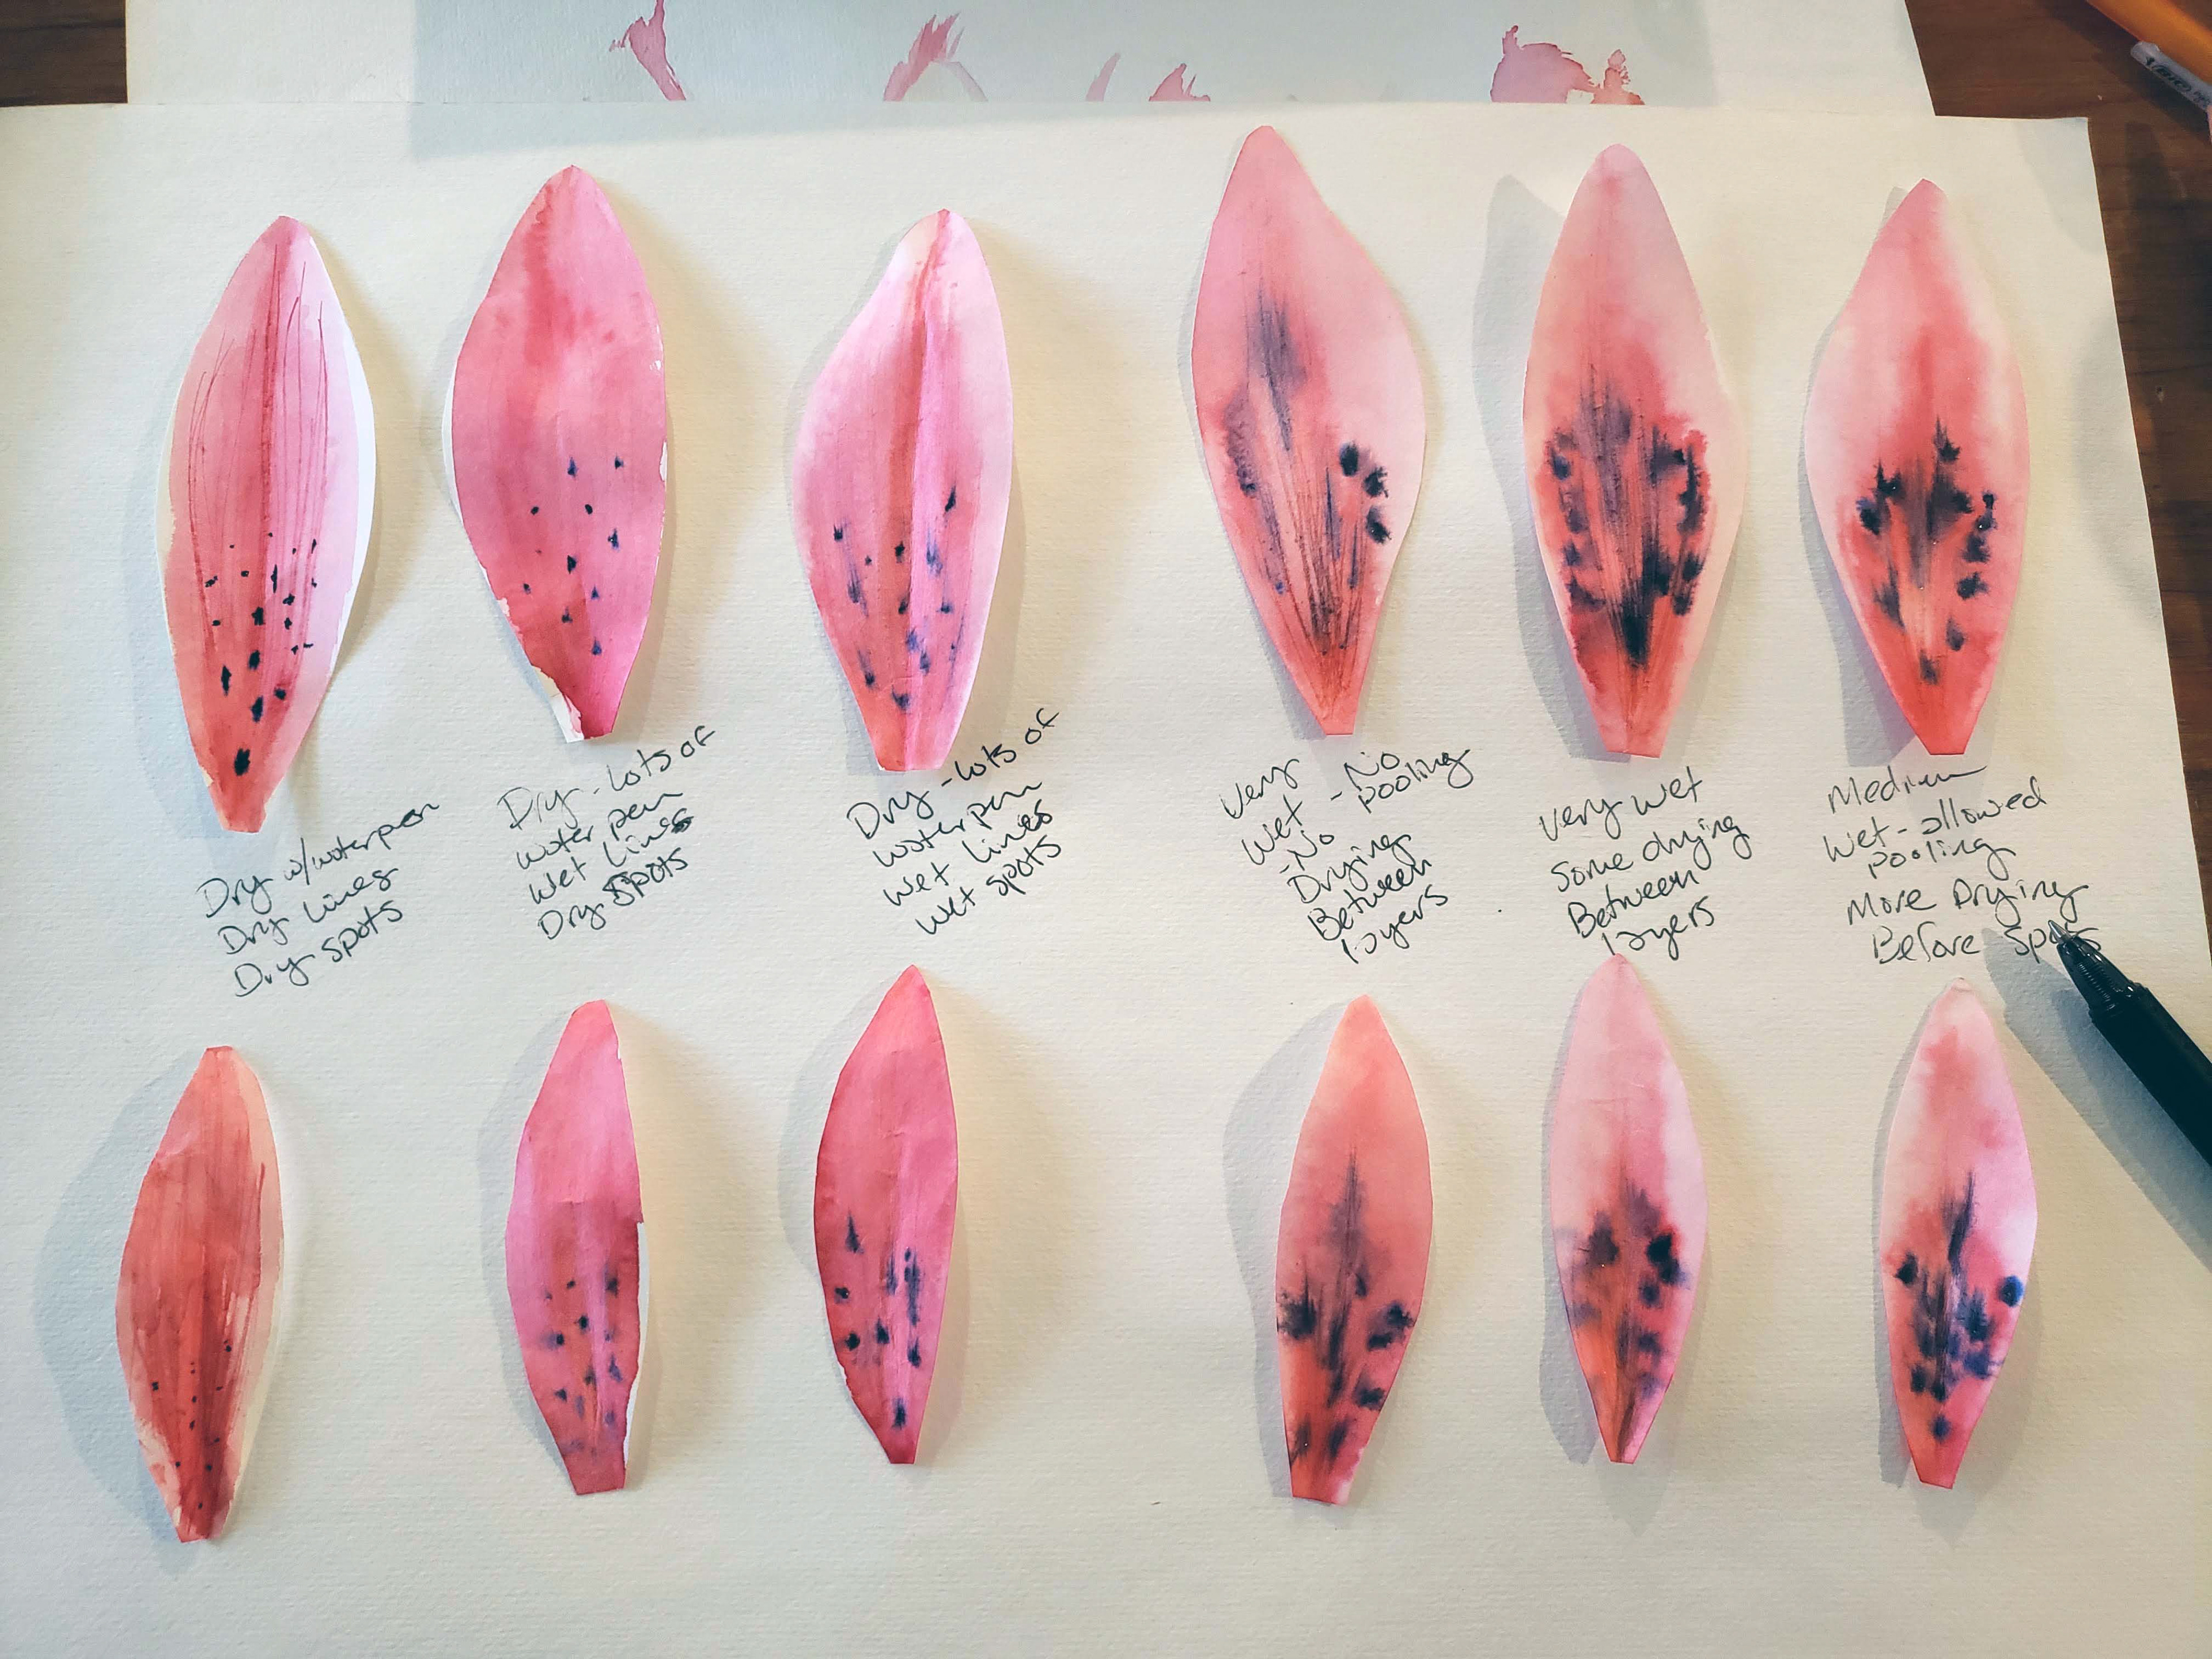
Above are my results (dry paper vs pre soaked wet paper) from my first experiments to create the colors of a pink lily petal with the glass pen and ink. Below I document my process. I still need to play with it more to improve the look, but I am enjoying the results so far!